Overview
Getting the right fit type in 3D printing is a common obstacle that is frequently run into. Getting the fit between two different parts is often something that can take a couple of tries and multiple reprints until you get the desired fit. This module will provide you with starting dimensions to get you close to the proper fit, but these dimensions might not work for you. You should use this module as a stepping stone to figure out what works best for you!
Tip:
When you are trying to get the fit right, whether it be a clearance, interference, or transition fit, print a small-scale version of the part with the tolerances you think you need. This trick can save you tons of time and material. Additionally, this will help you hone your skills and eventually you will be able to print the proper fit the first time.
Overview
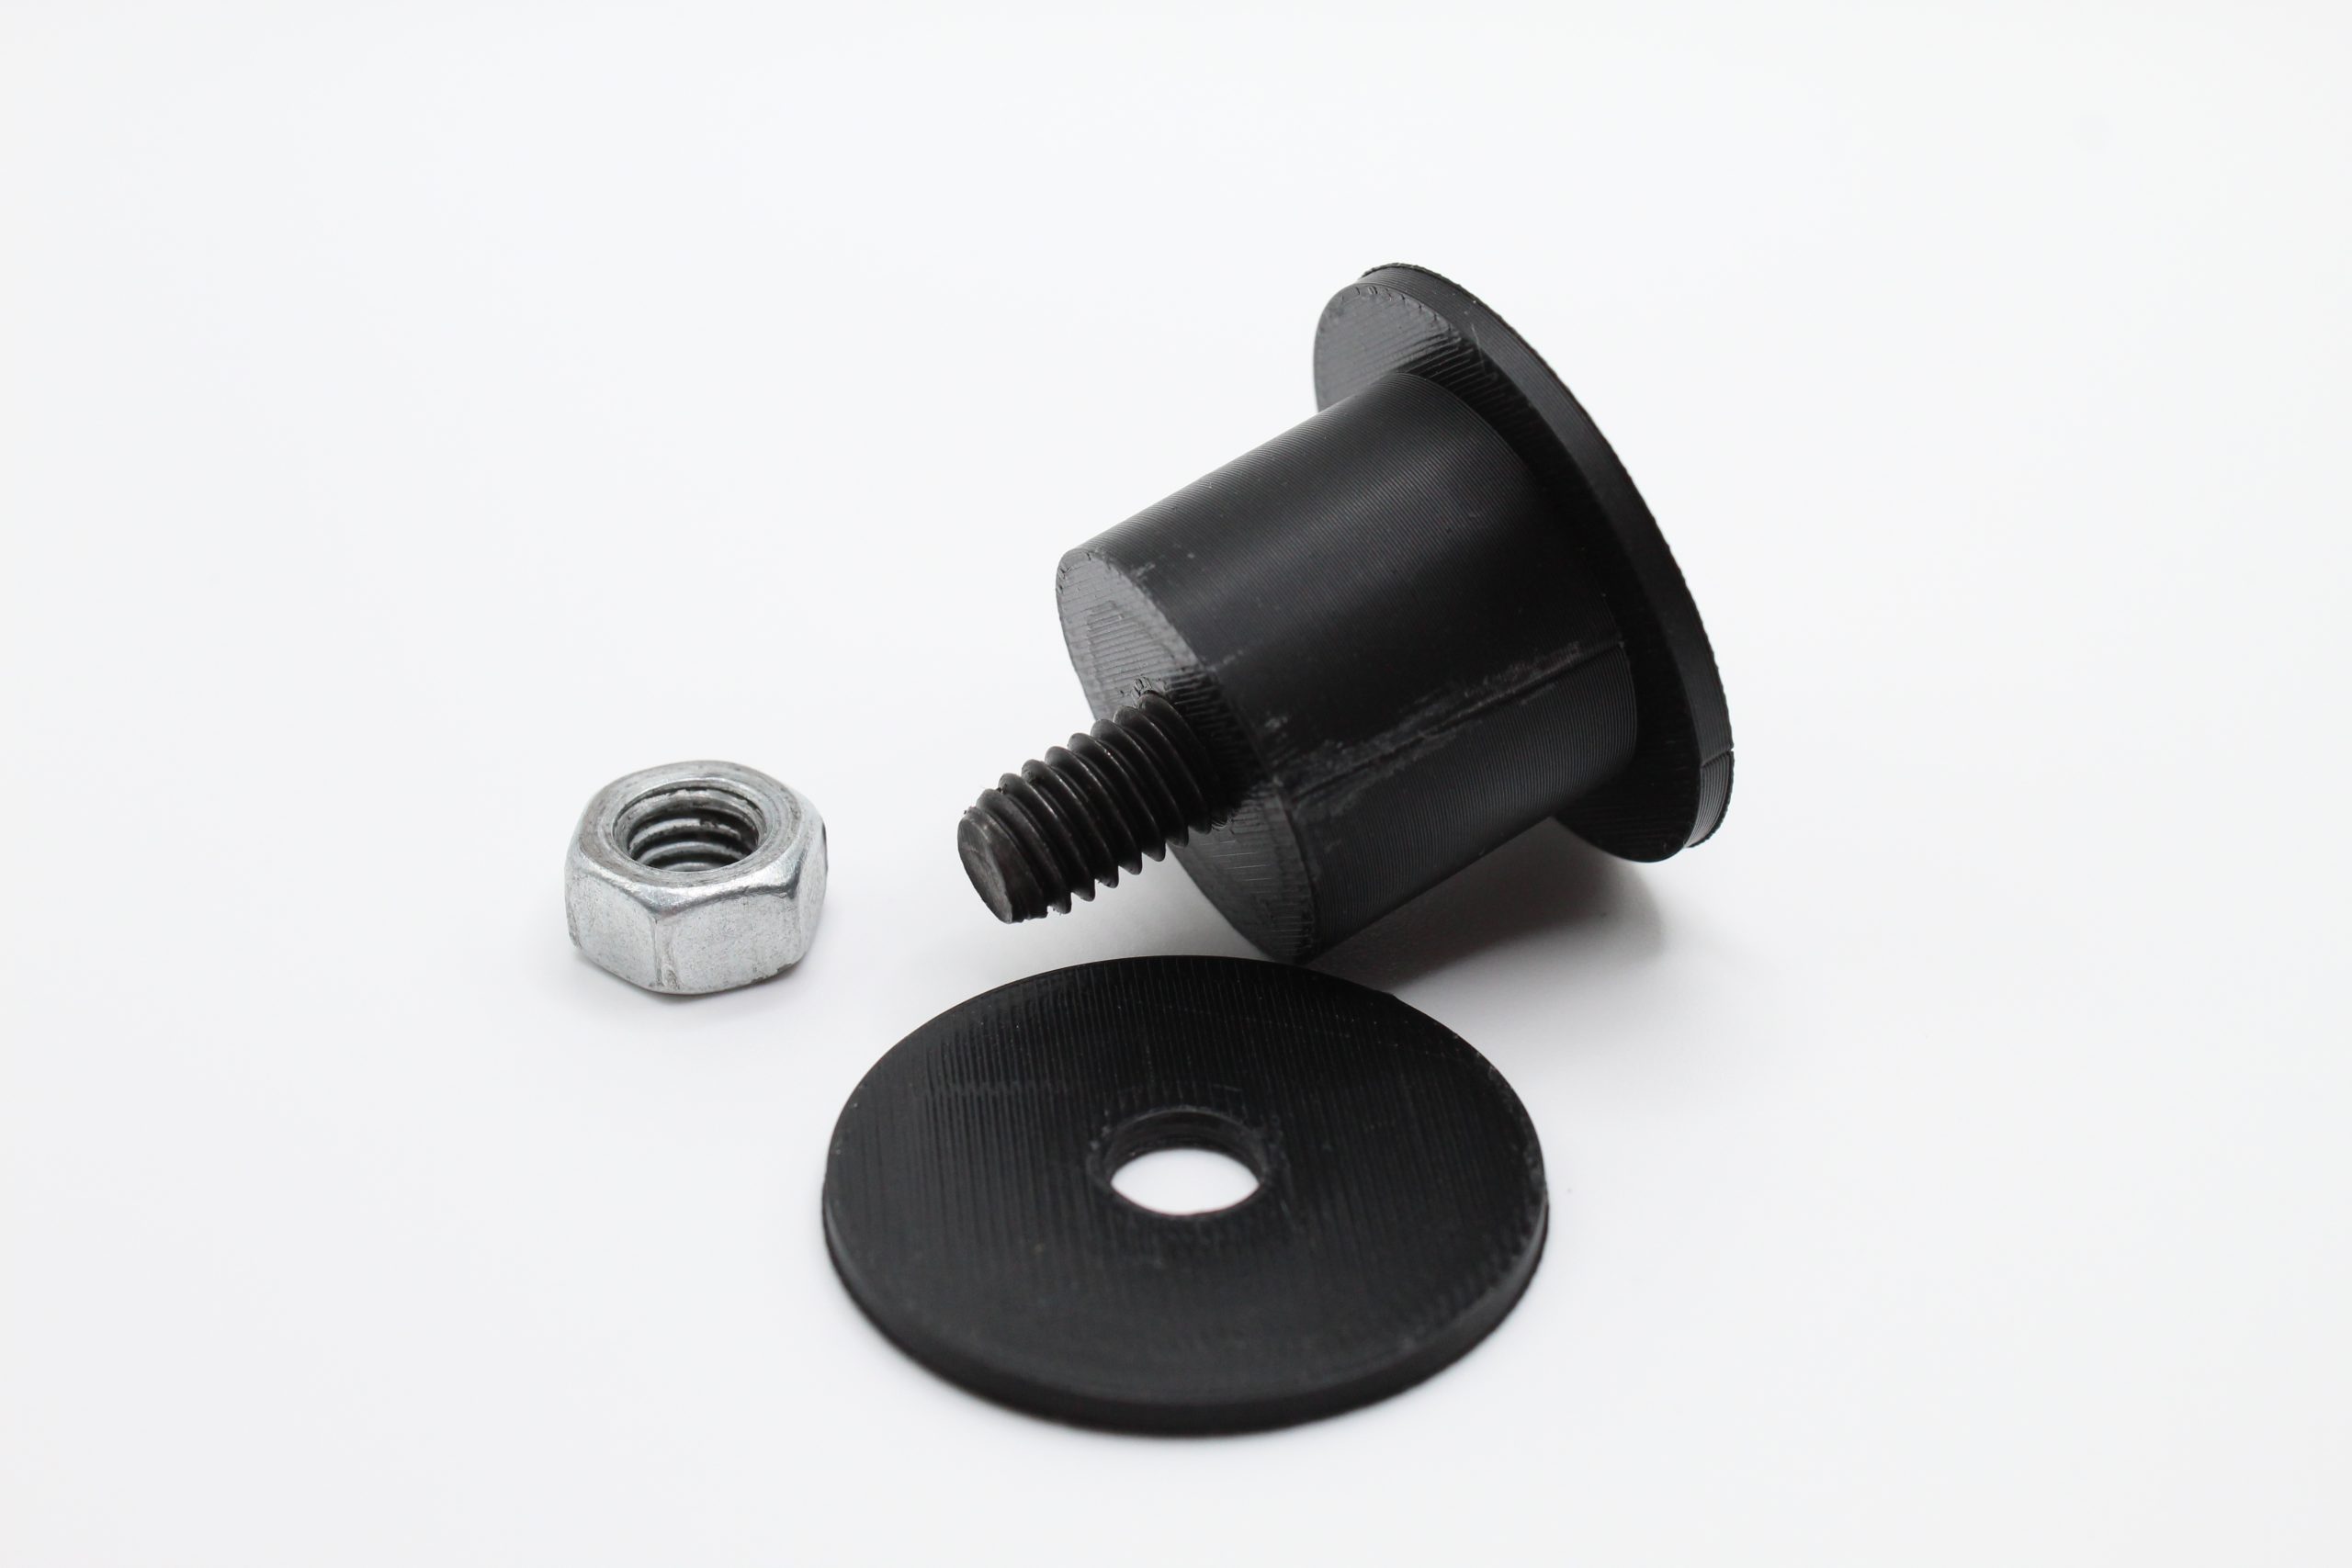
Using fasteners with your 3D printed parts can be a very helpful feature for you. You can accomplish a lot of the same features that metal manufacturing has (tapped holes, through holes, etc.), with a 3D printer.
Through Hole
To have a through hole effect on a 3D printed part, simply add >0.4mm to the outer diameter of the bolt or screw that you are using. This way, the fastener will not interfere with the part at all.
“Tapped” Hole
To obtain a tapped hole affect with a 3D printed part, set the hole diameter to be 0.2mm larger than the fastener diameter. In addition to this, increase the wall loops to 3 or 4 in Bambu Studio. This will allow for the fastener to cut its own threads as it is threaded into the plastic. Important Note: These tapped holes are not as strong as using a heat set insert, and are limited in the amount of times you can use them. For better, reusable, threaded holes check out the heat set inserts module.
Bolt that is threaded into 3D printed part