Overview
Knowing how to print a strong part is useful, as it allows you to use 3D-printed parts in fully functional prototypes. You can do things at all points during the 3D printing process to increase the strength of a part. Additionally, other materials that can be 3D printed are much stronger, some of which the Design Innovation Lab at Wendt can print. A very brief list of strong filaments include Polycarbonate (PC), Nylon Filaments, and Carbon Fiber reinforced filaments. Check out Bambu Labs Filament Guide for more information on possible materials.
Overview
During the design phase, you can do a lot of things to make your part strong. This can any thing from the orientation, to avoiding stress concentrations, as well as including areas to add metal reinforcement. Knowing how to design a strong part can be crucial to your success with 3D printing parts and prototypes.
Orientation
The easiest way to get strong parts is being mindful of what the print orientation of the part is. This is because 3D printed parts suffer from anisotropy, meaning they are significantly weaker in one direction versus the other (see Figure 1). When you are designing your part, try to keep in mind the forces that might be on the part, then design the part to be printed in the strongest way.
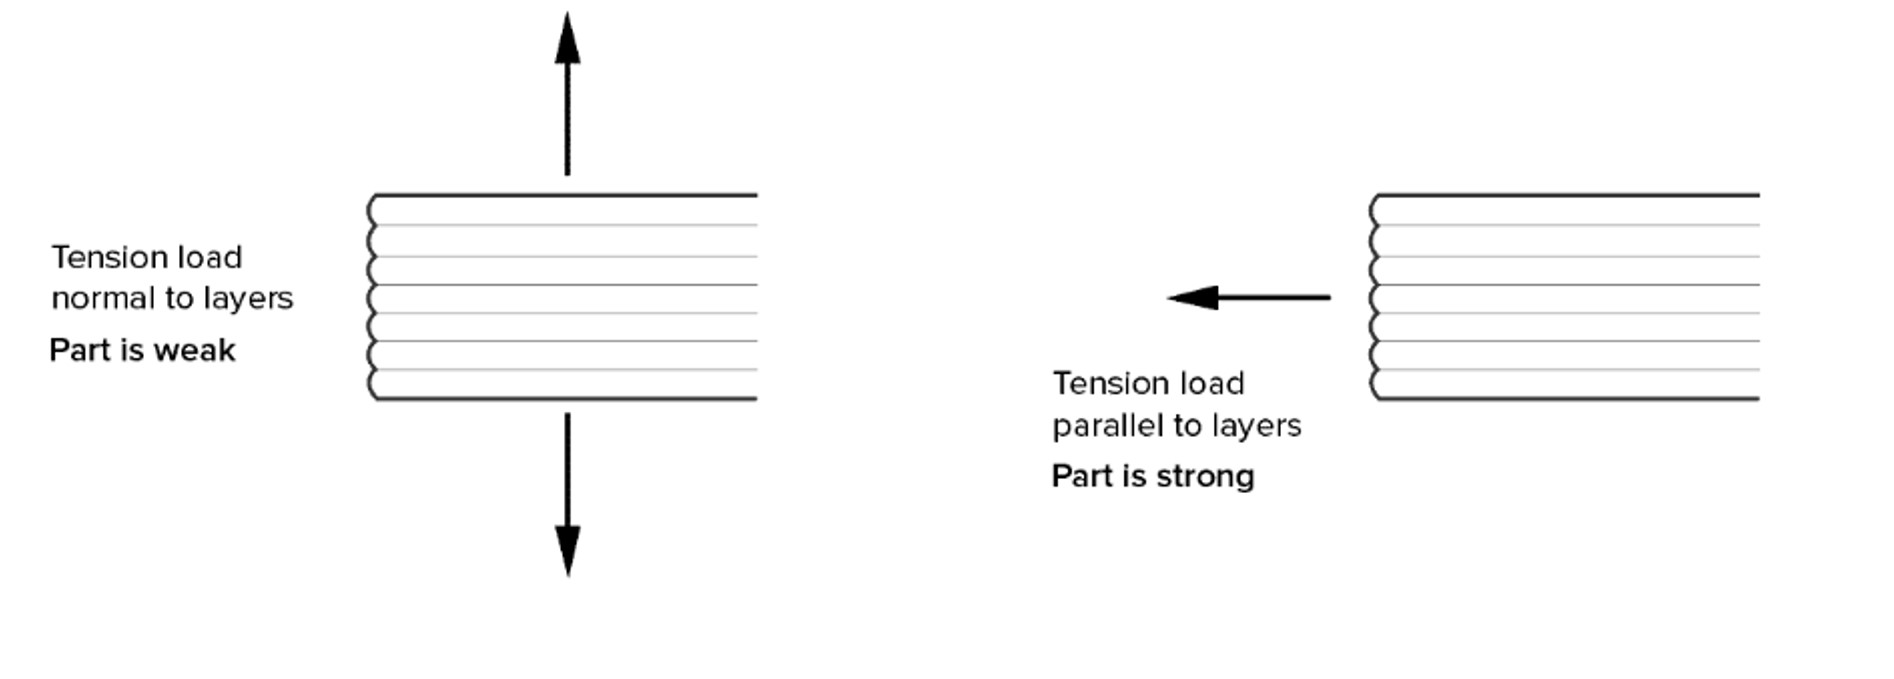
Figure 1. How anisotropy works in 3D printed parts. (Image Source)
Avoiding Stress Concentrations
Another thing to avoid is stress concentrations. Stress concentrations with anisotropy can lead to incredibly weak parts. Something you can do to avoid stress concentrations is by using fillets (see Figure 2).
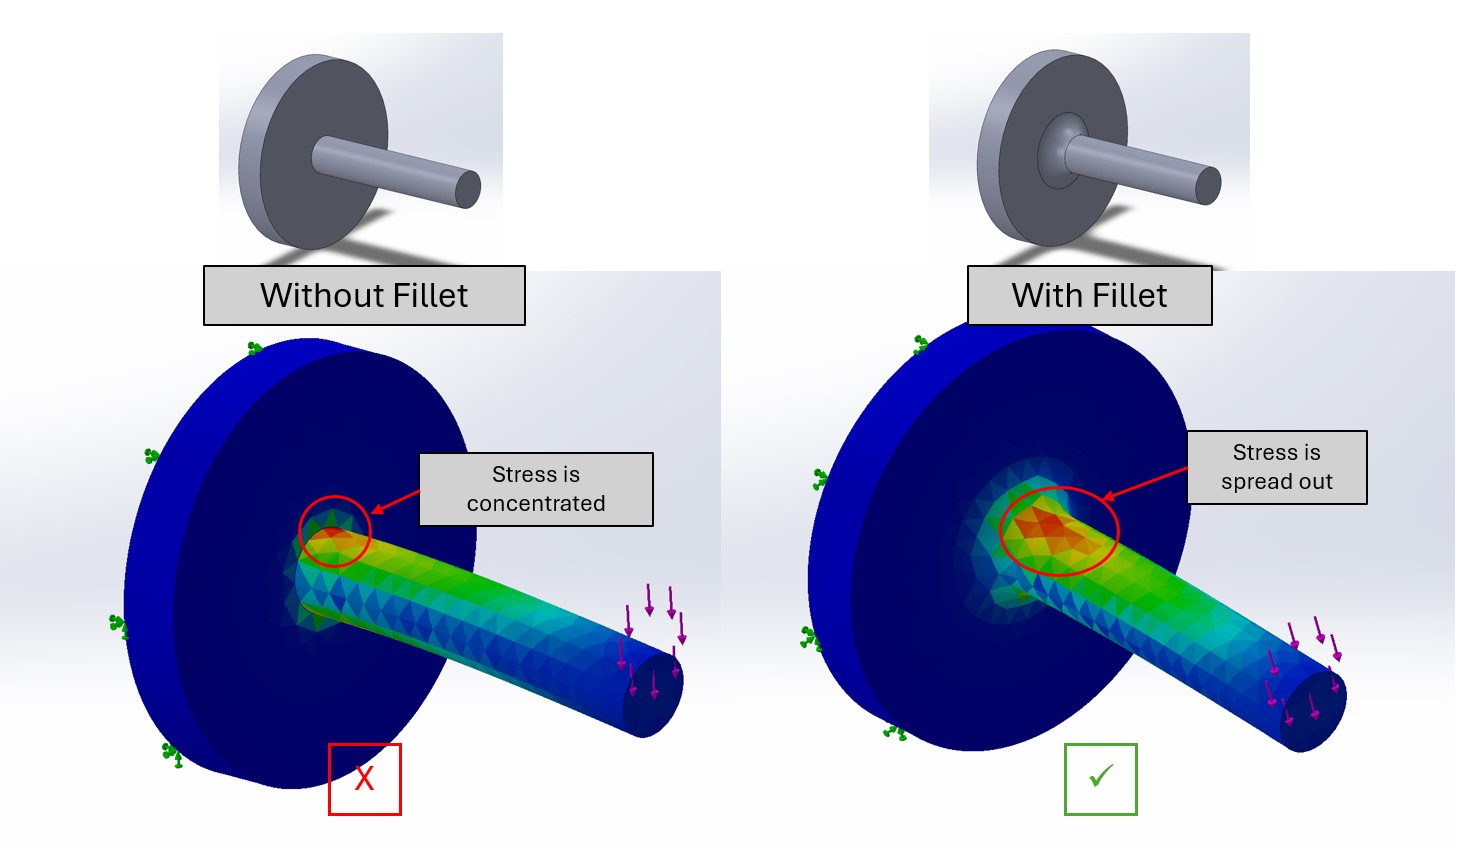
Figure 2. Using a fillet to avoid a stress concentration, resulting in a much stronger part.
Example
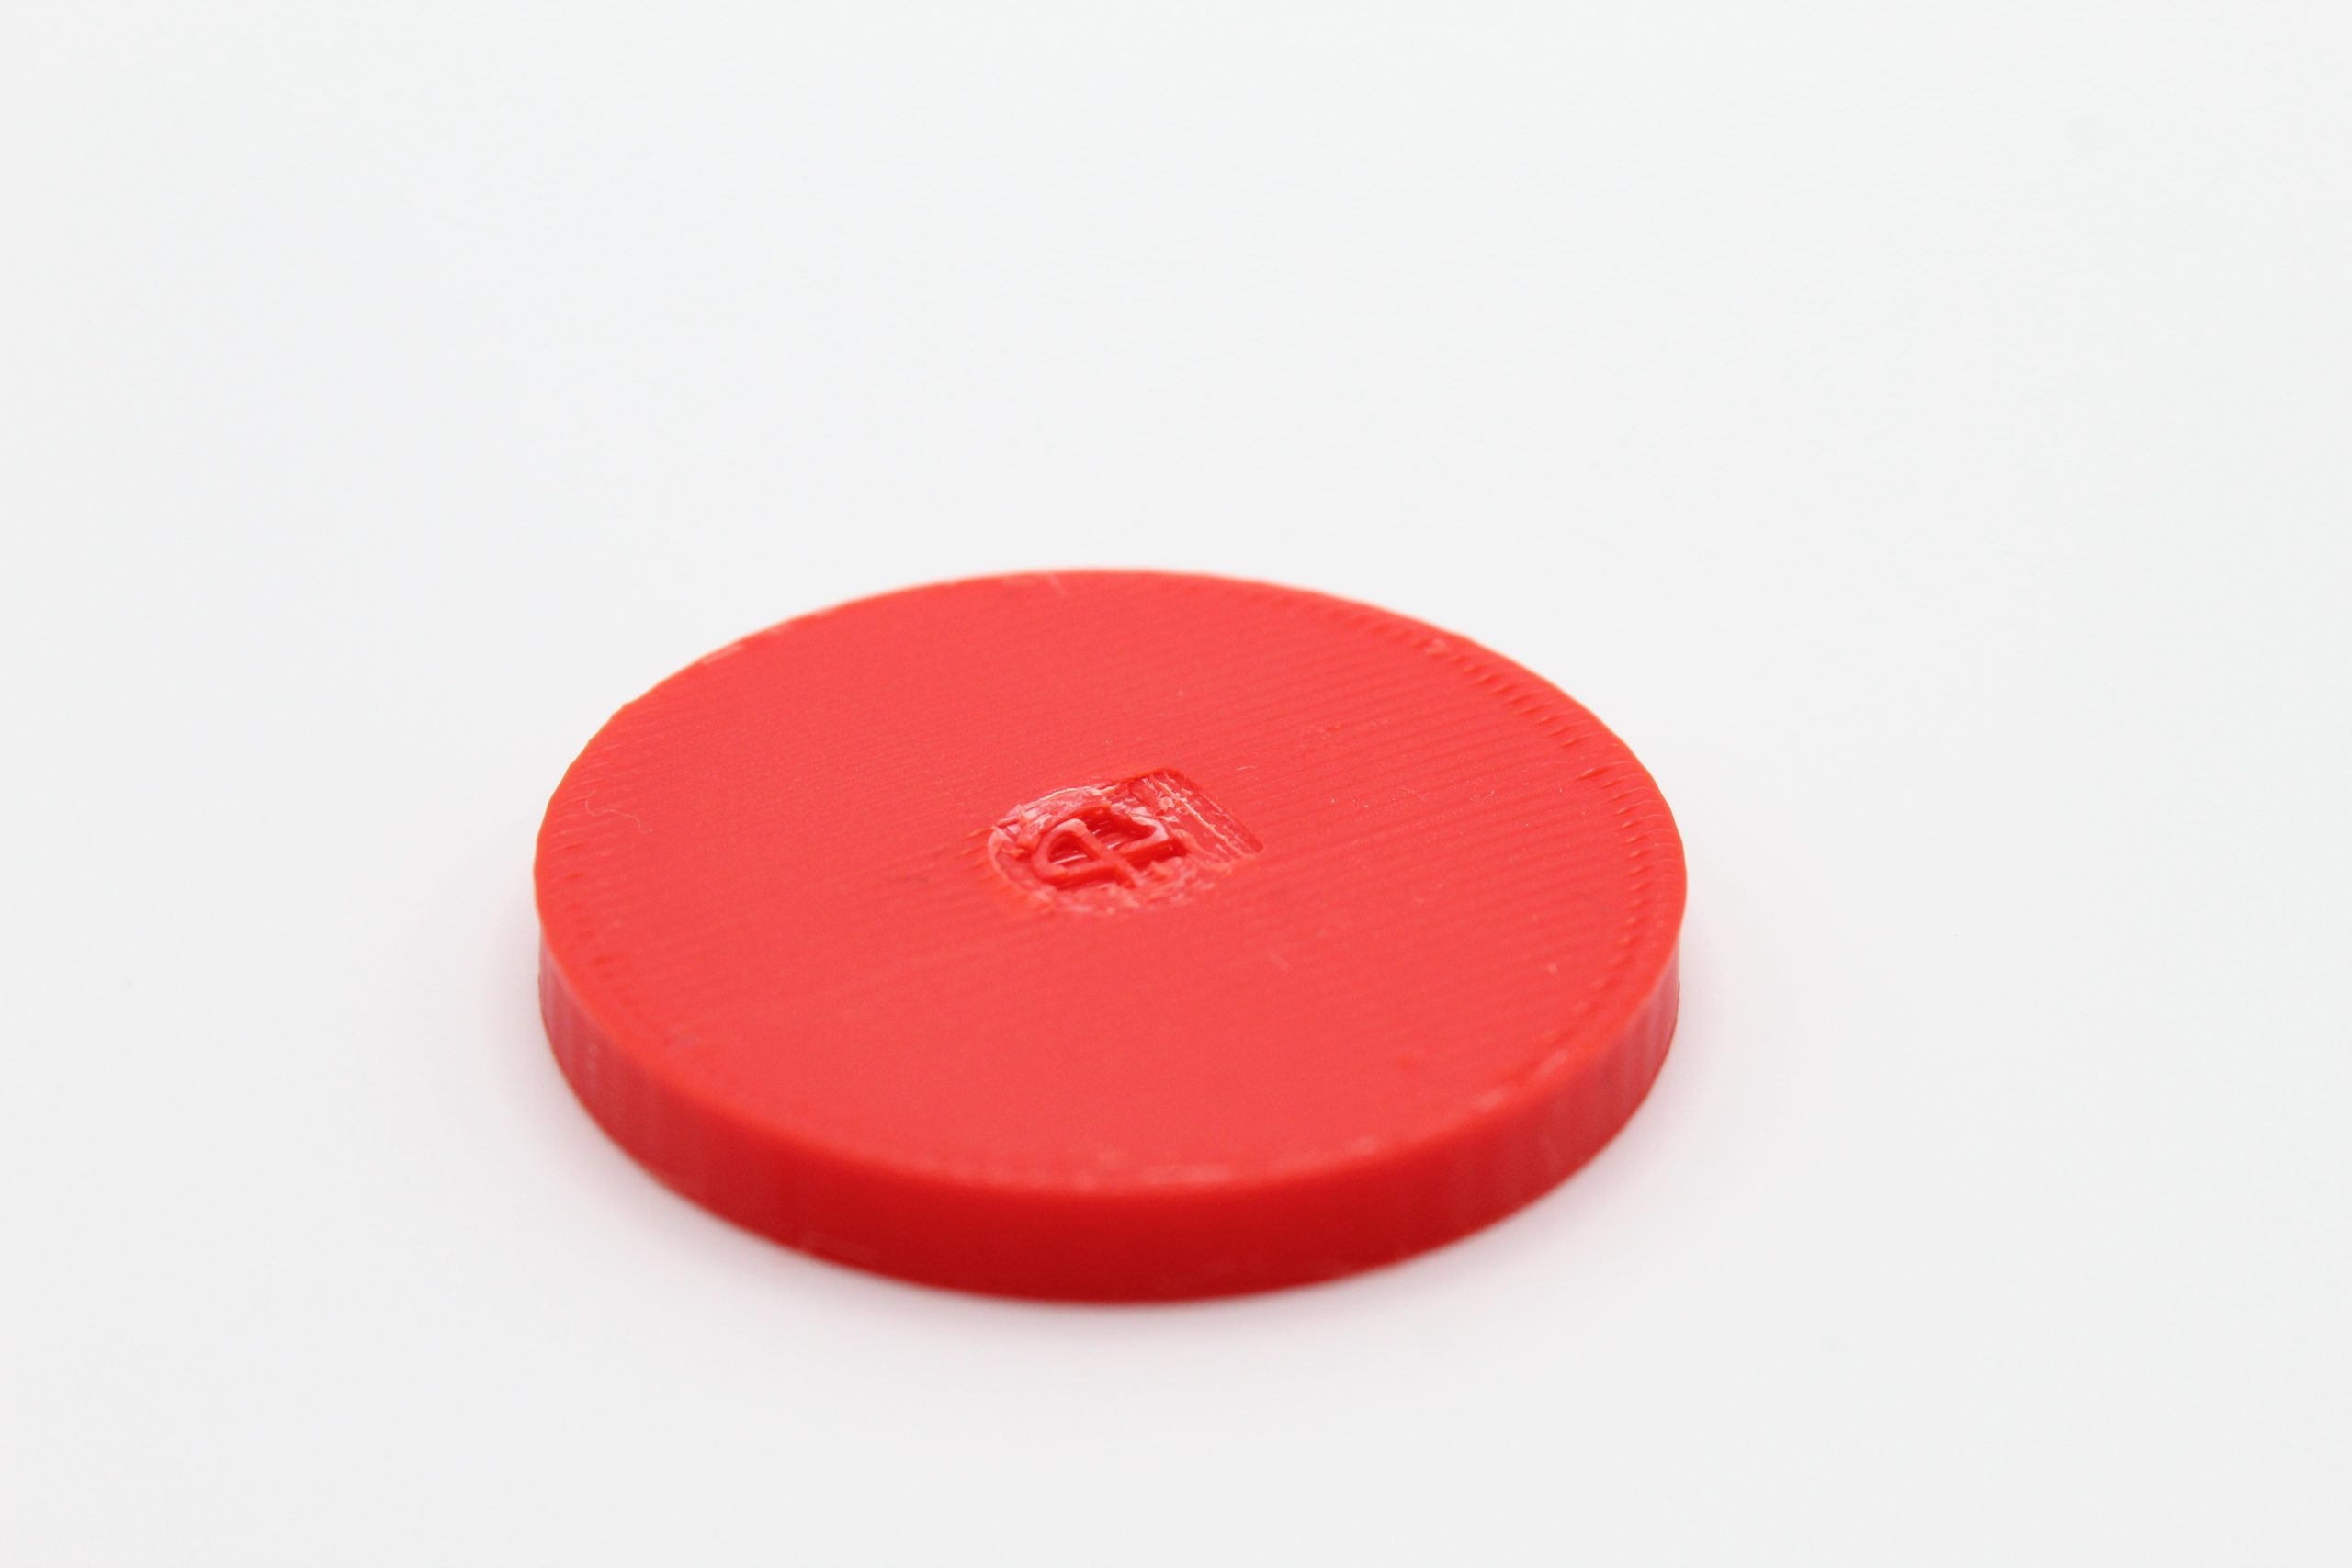
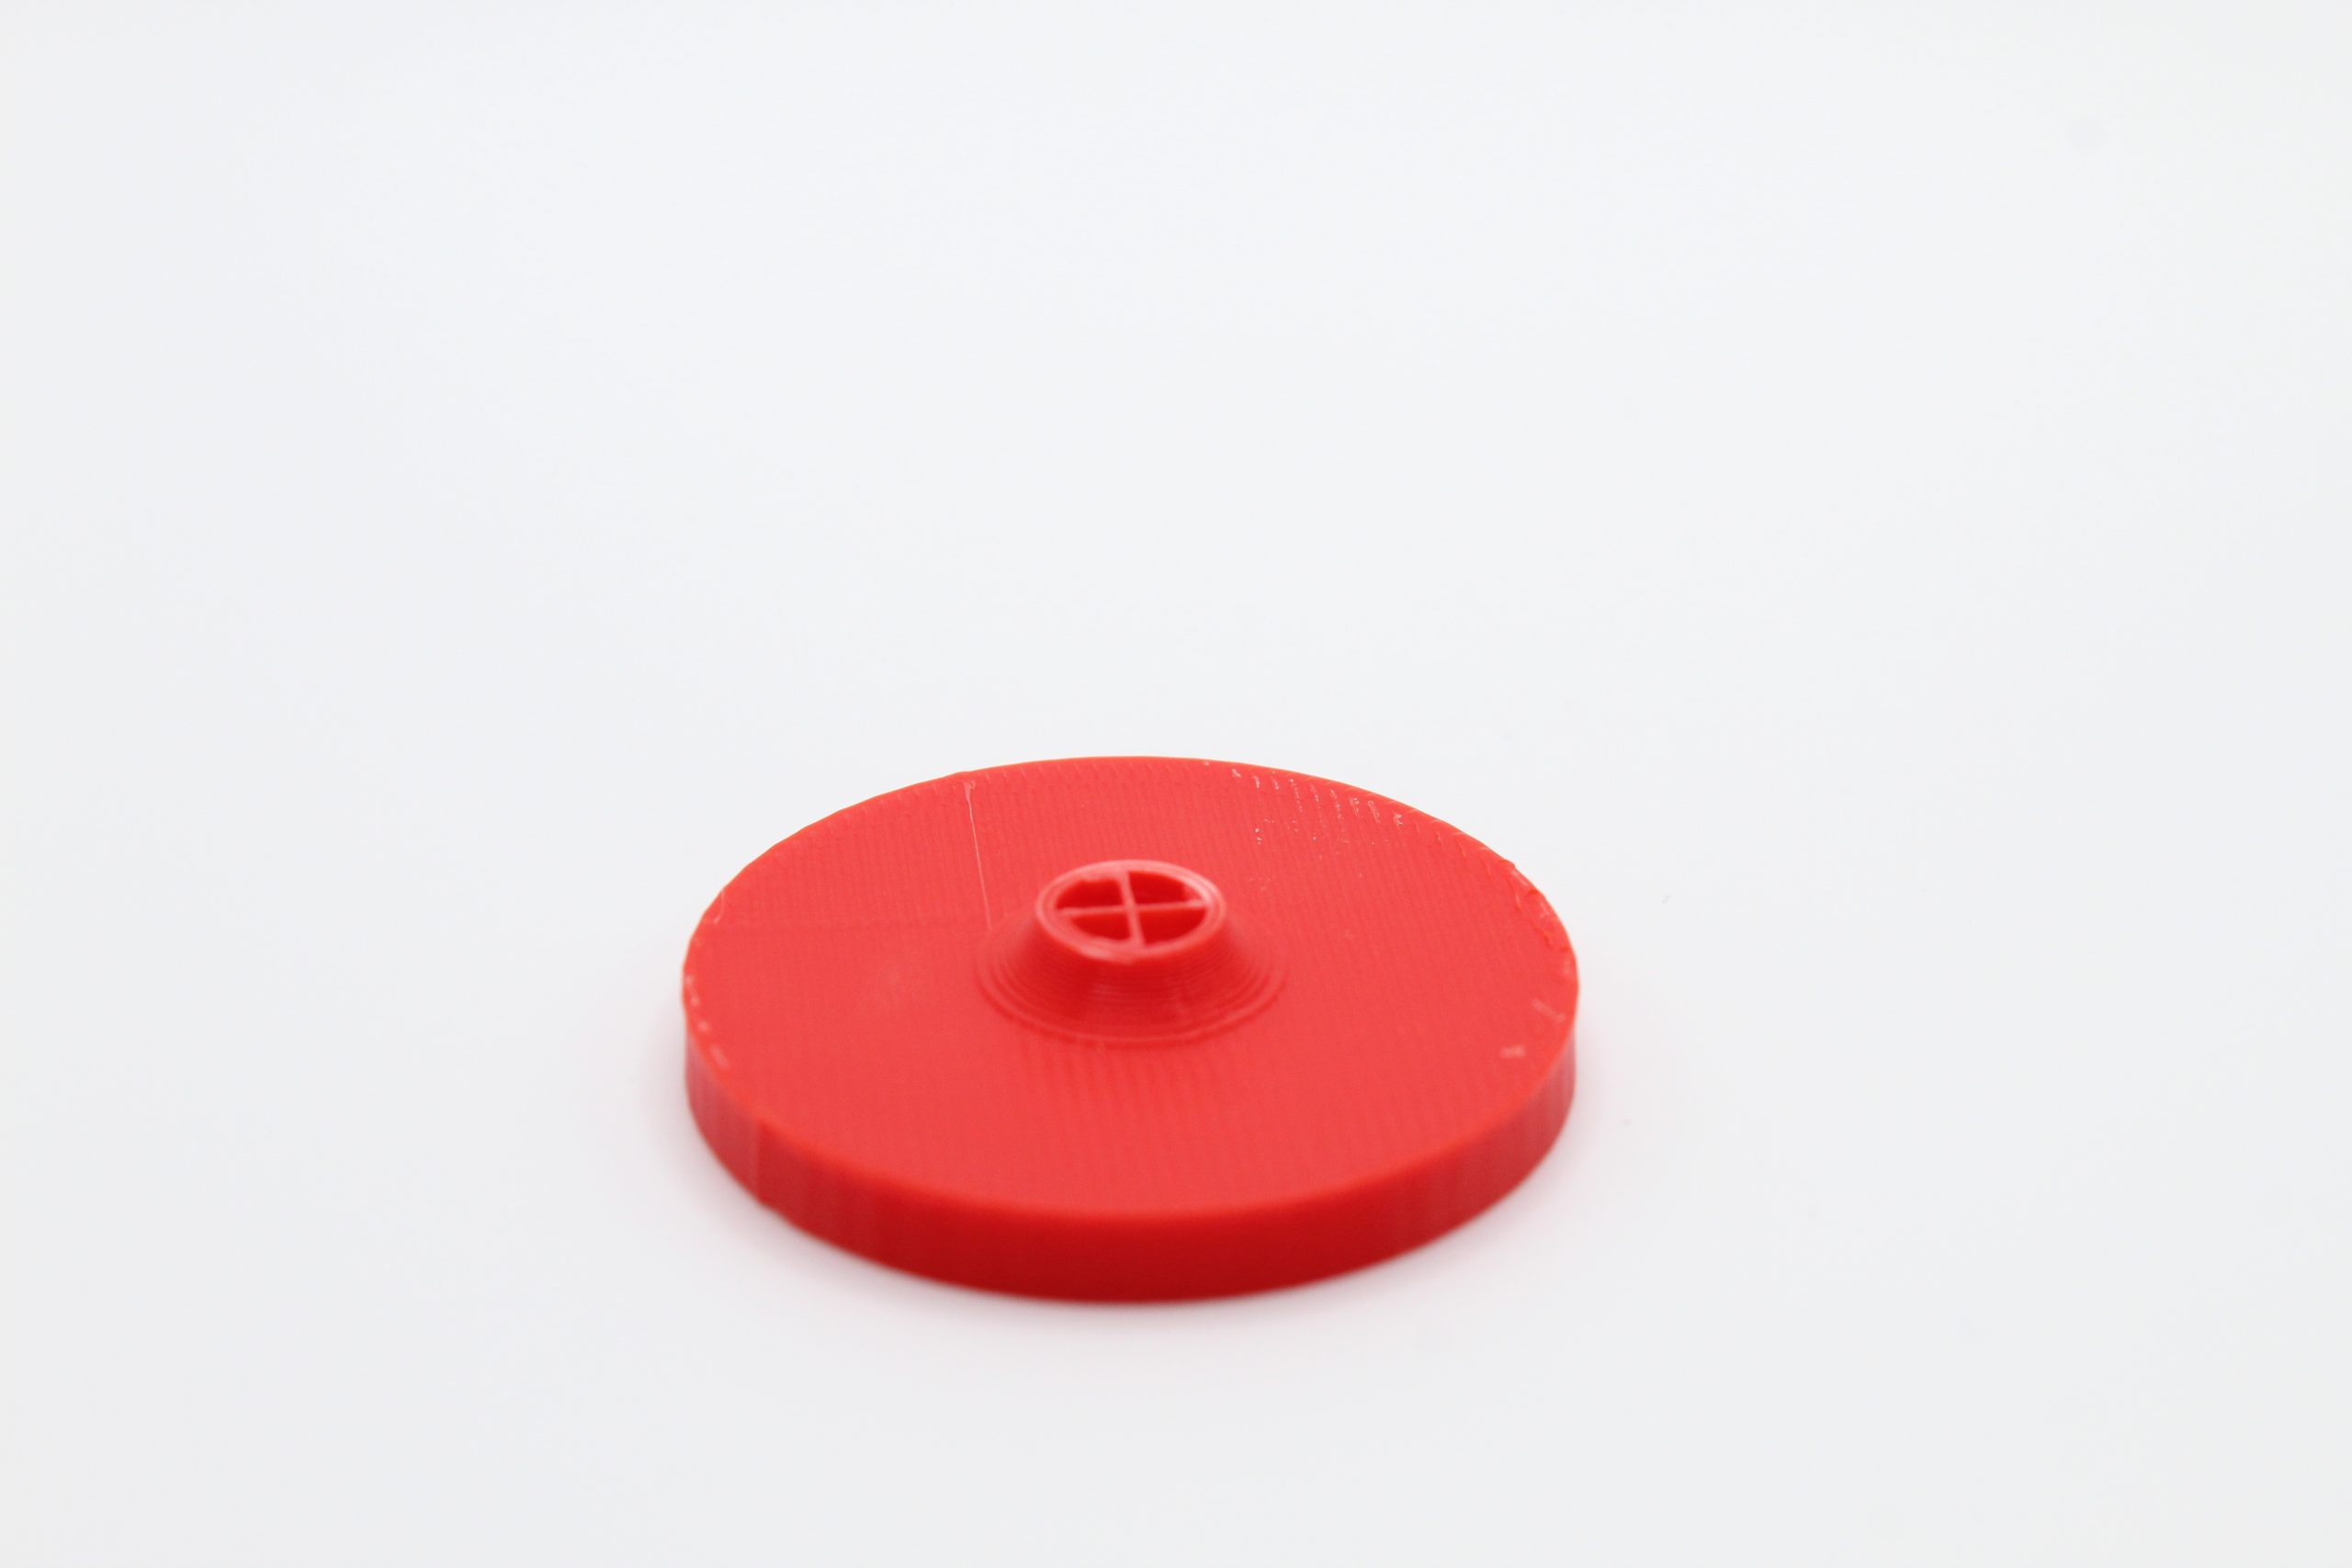
To show how some simple changes can make strong 3D printed parts we are going to use a axle like part with the shown loading condition below (Figure 3). To test the strength of the part, they will be broken and then given a rating on how difficult it was to break on a scale of 1-10.
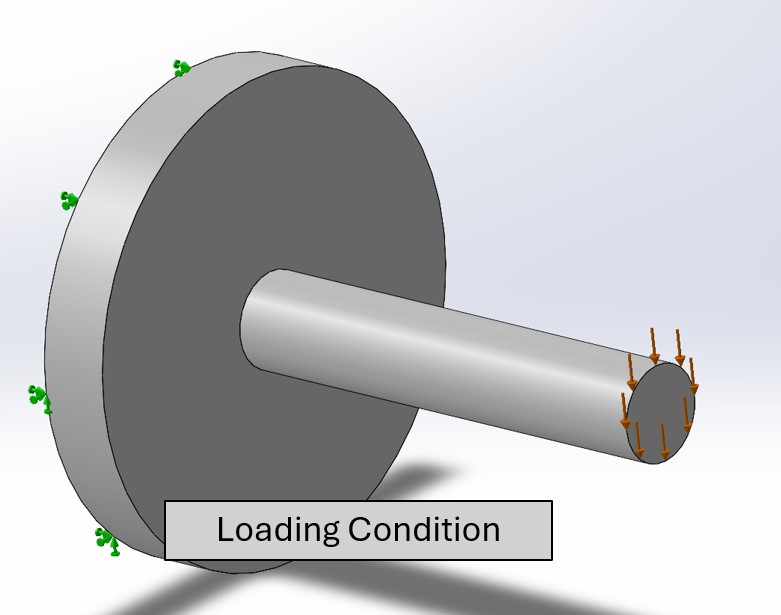
Figure 3. Axle part with loading condition
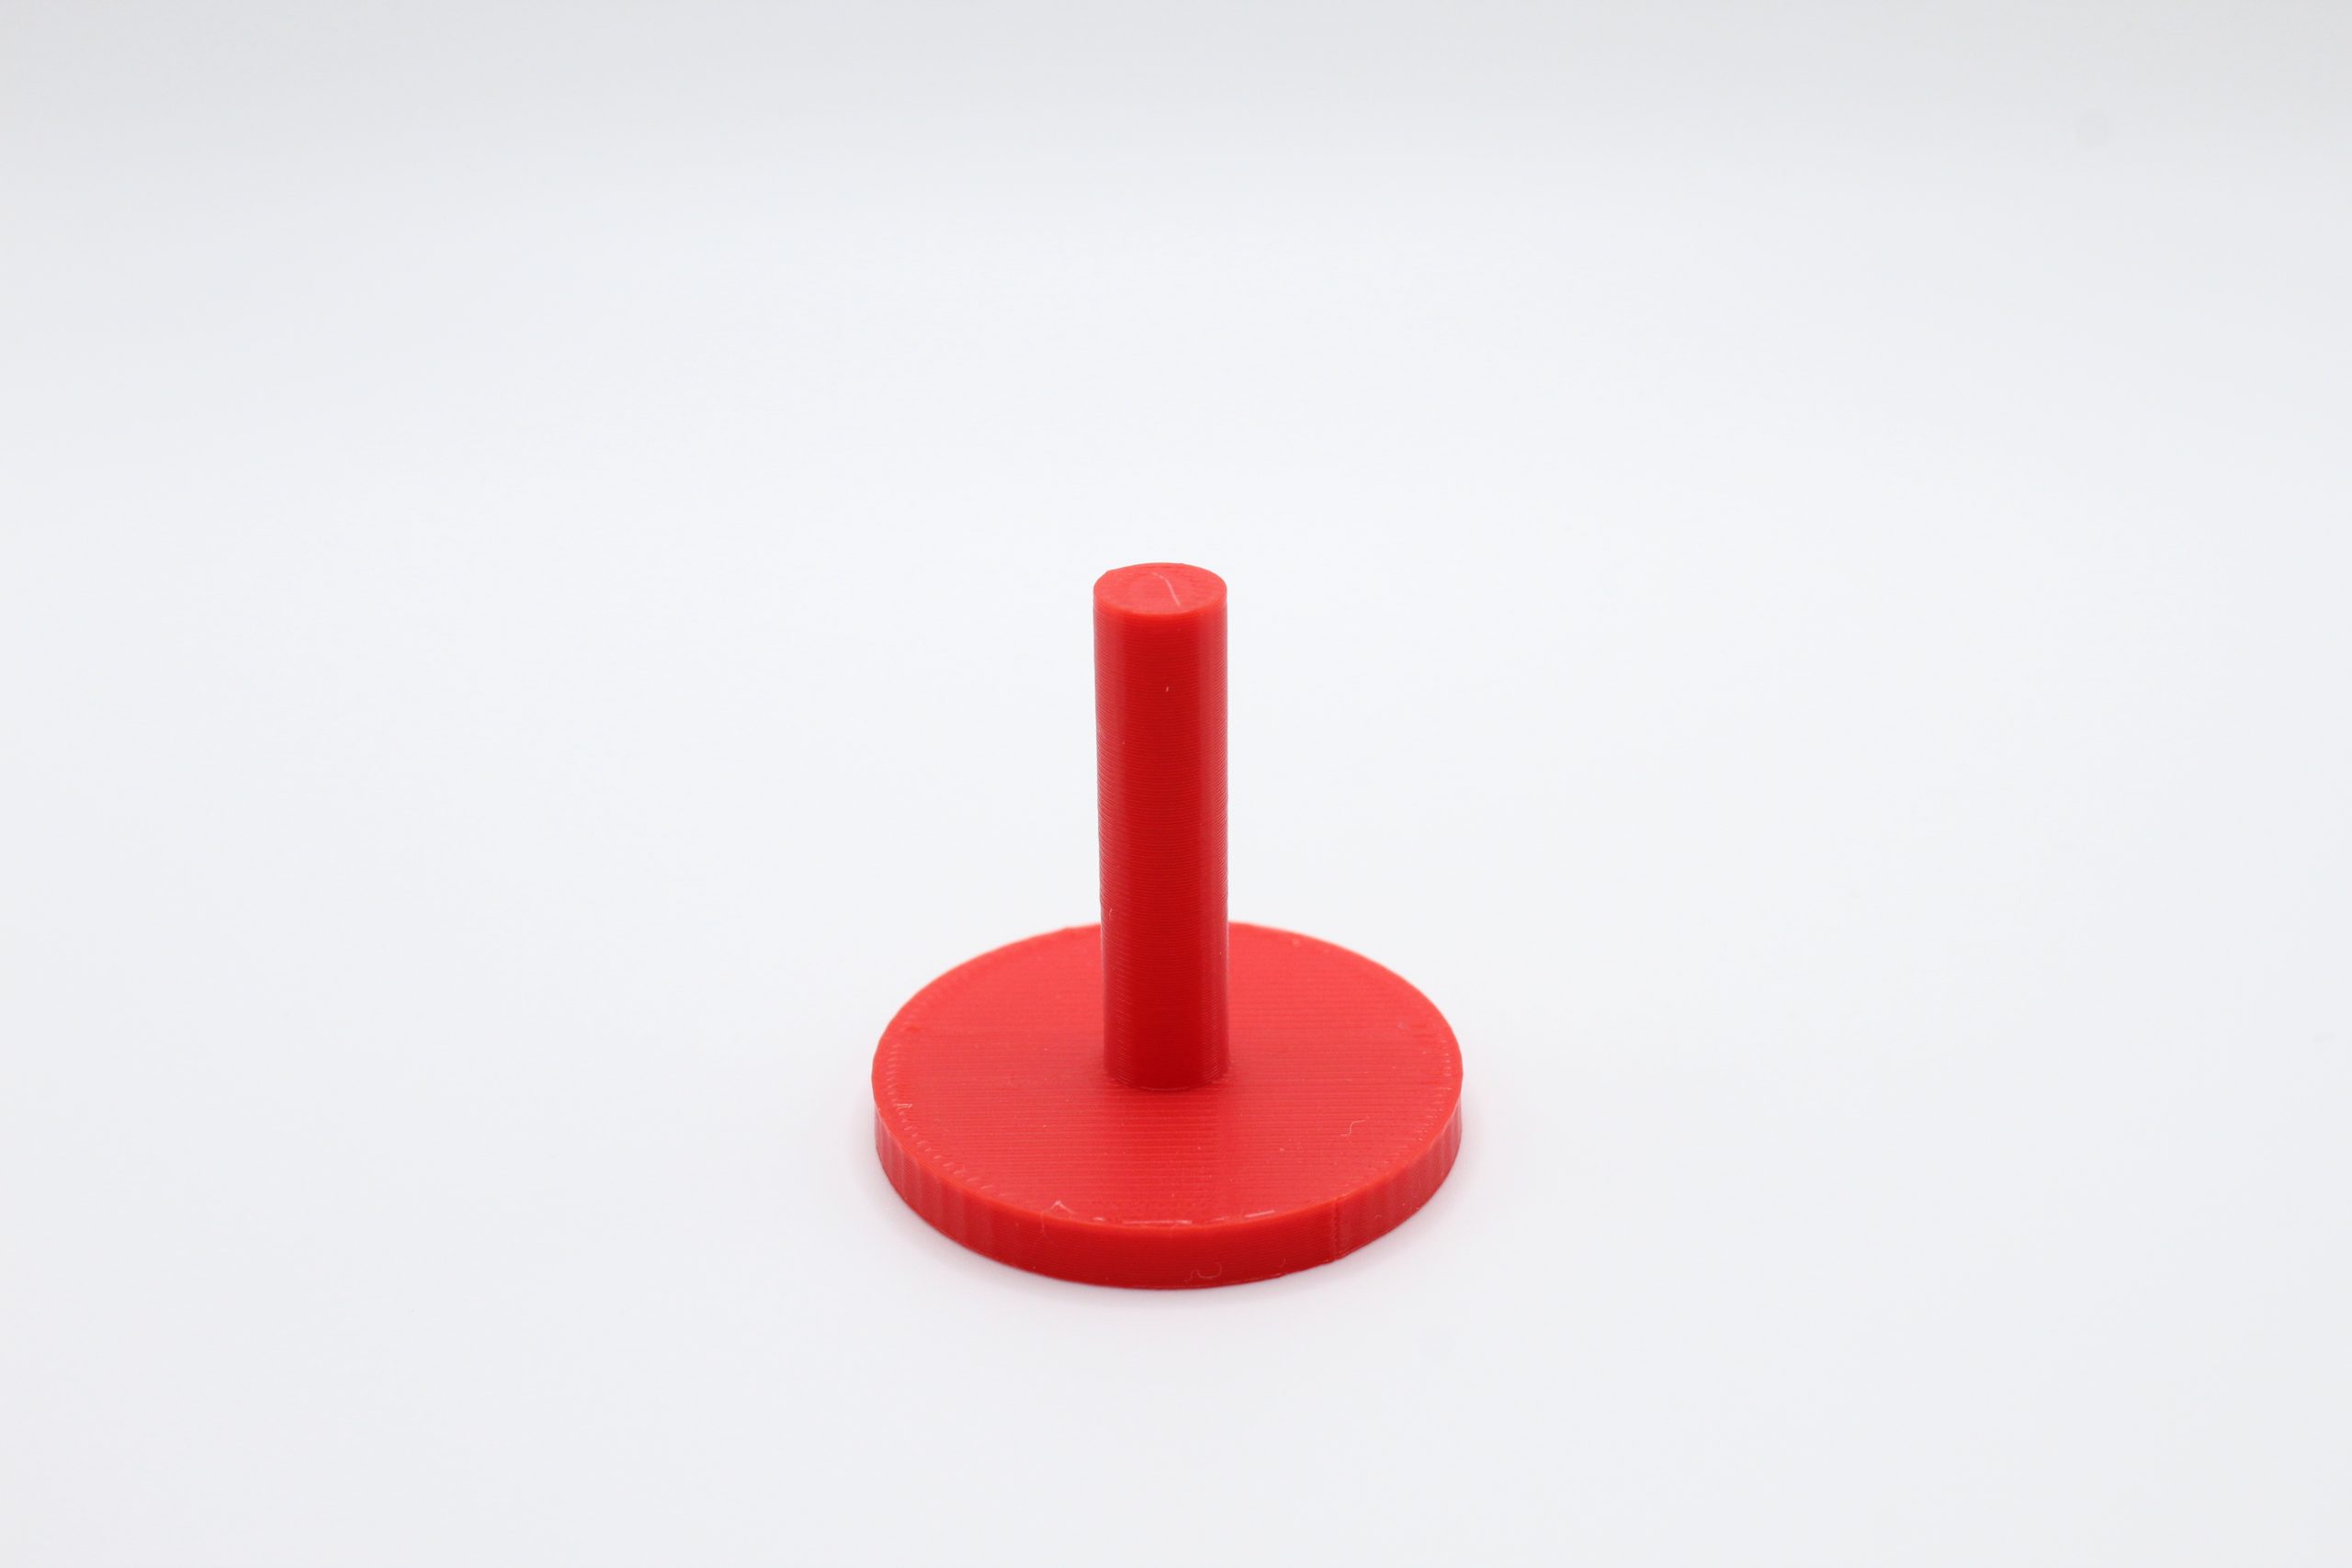
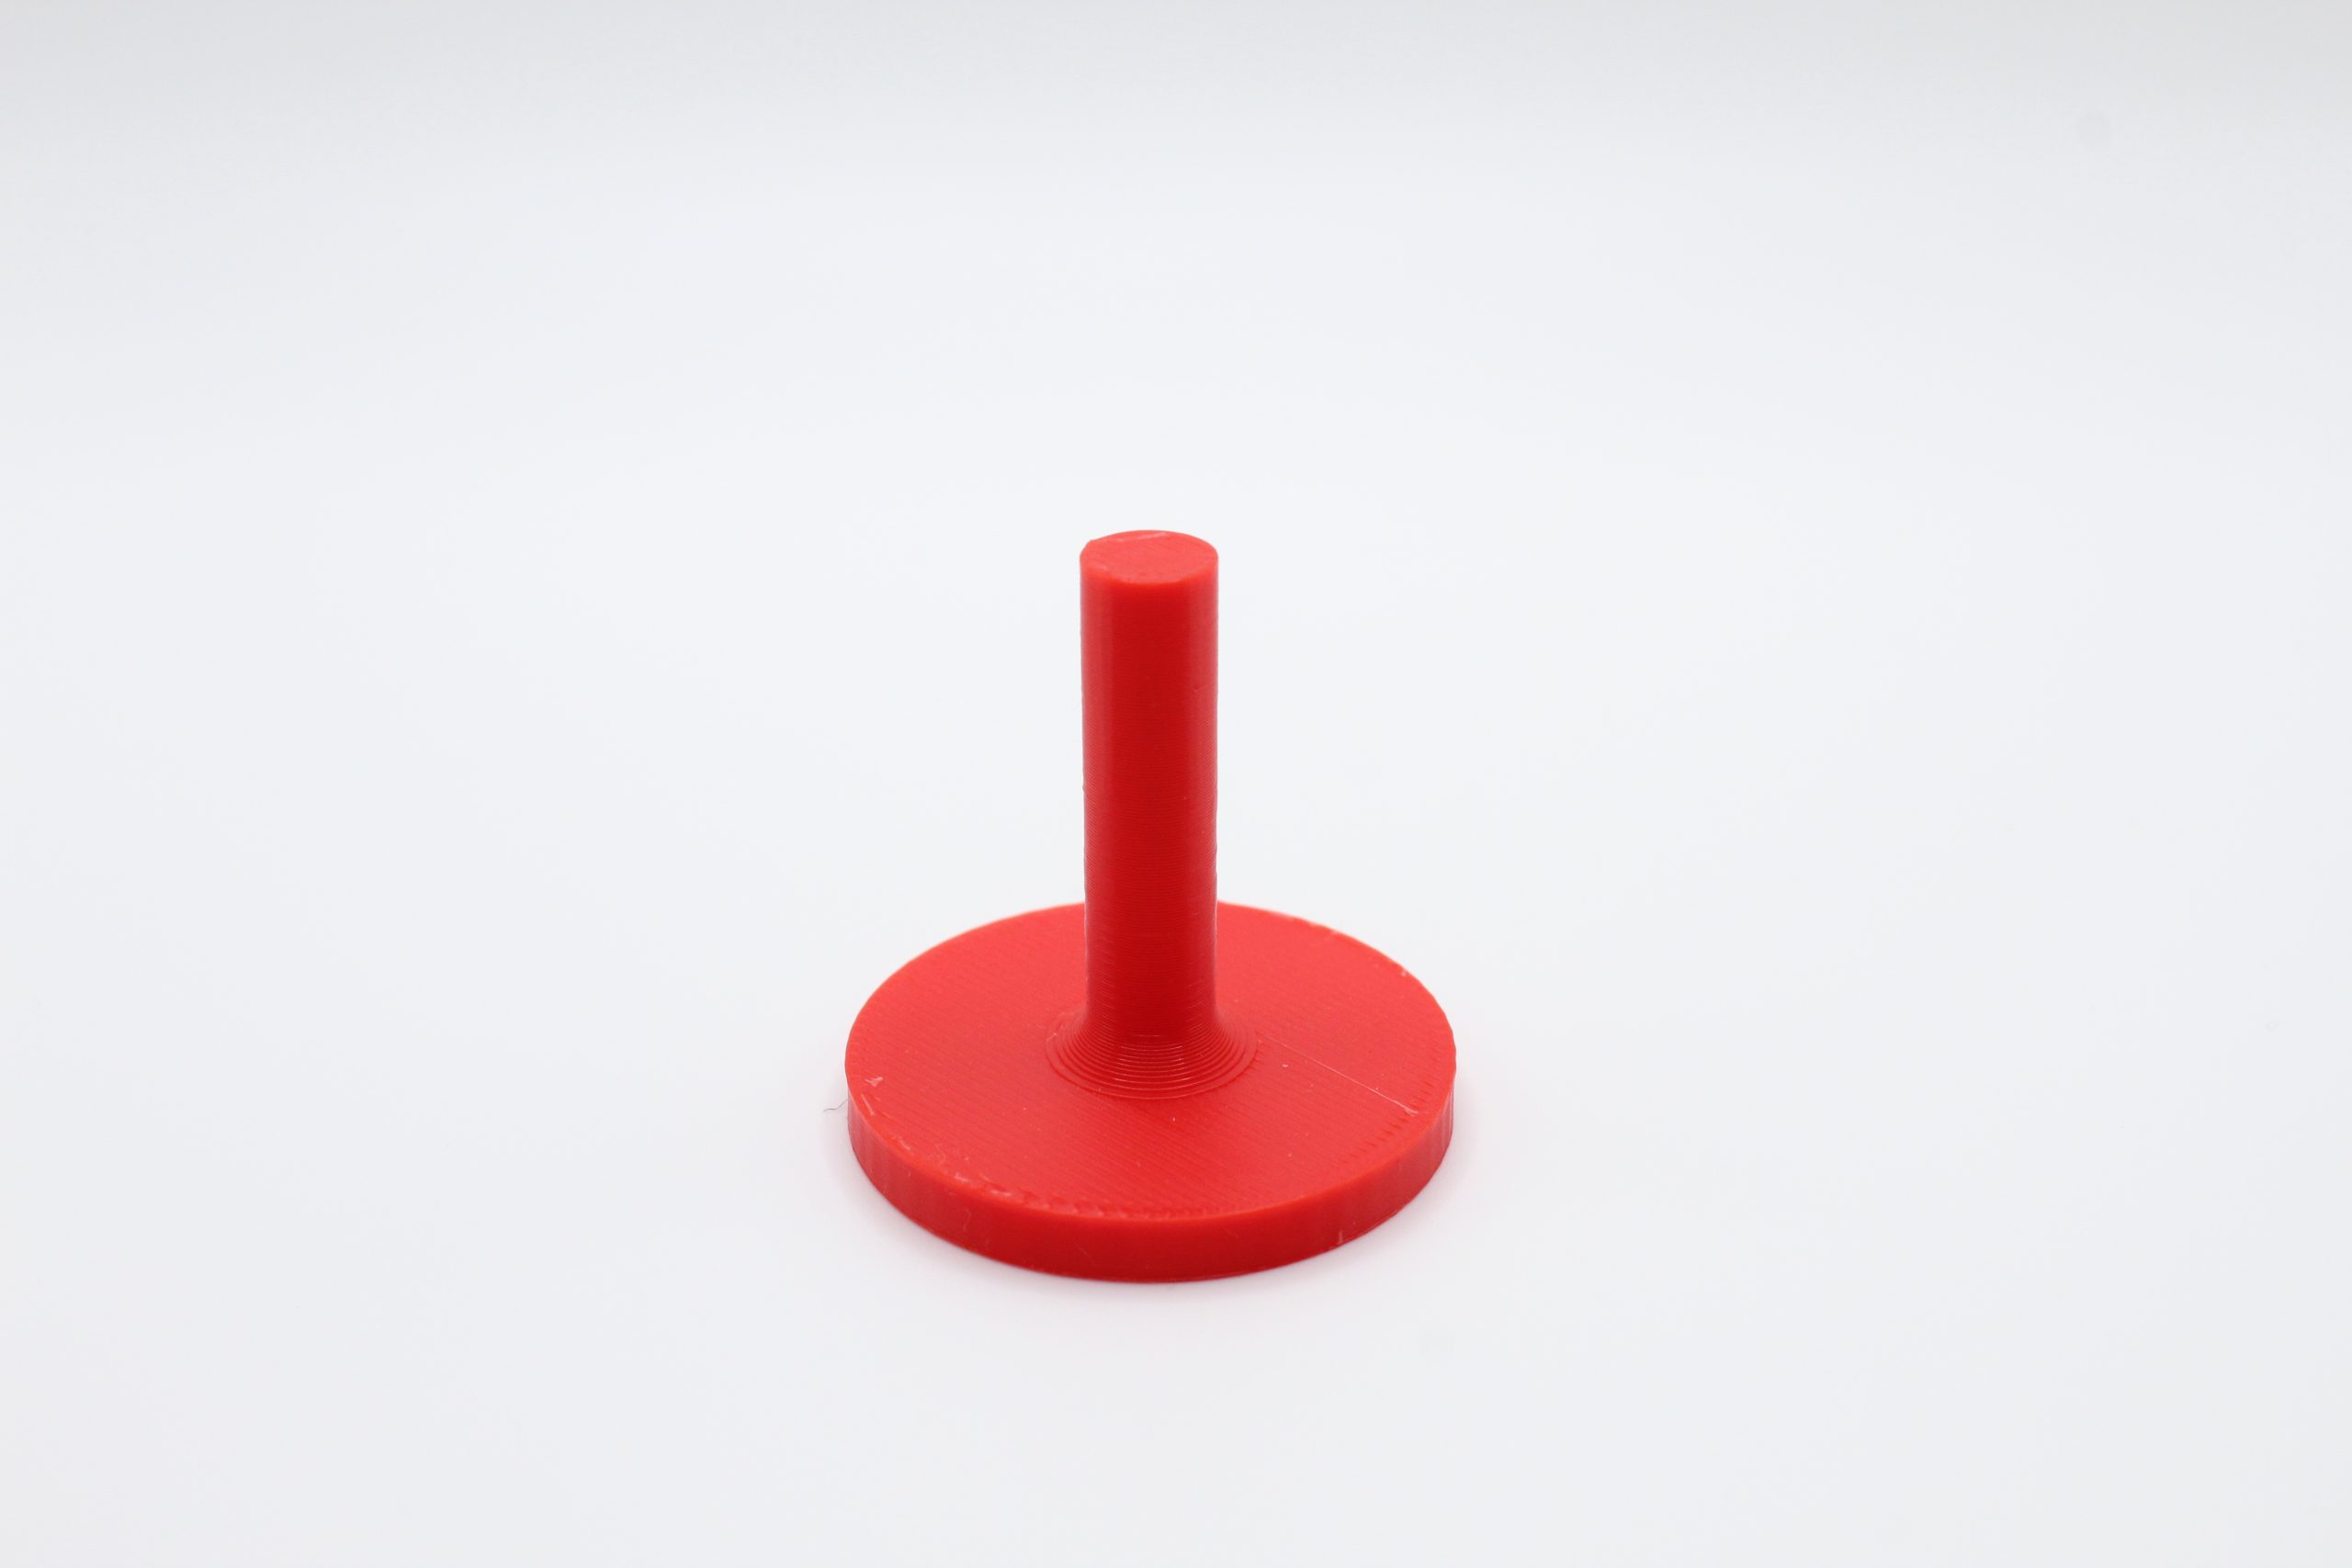
Baseline
The baseline part was printed vertically and is the weakest part.
Aftermath of part testing the baseline part.
Overall, the strength required to break this part was about a 2/10.
Orientation
The first thing to try and make a stronger part will be to change the print orientation. This part was printed on its side. This will make the layer lines parallel to the loading condition, making the part strong.
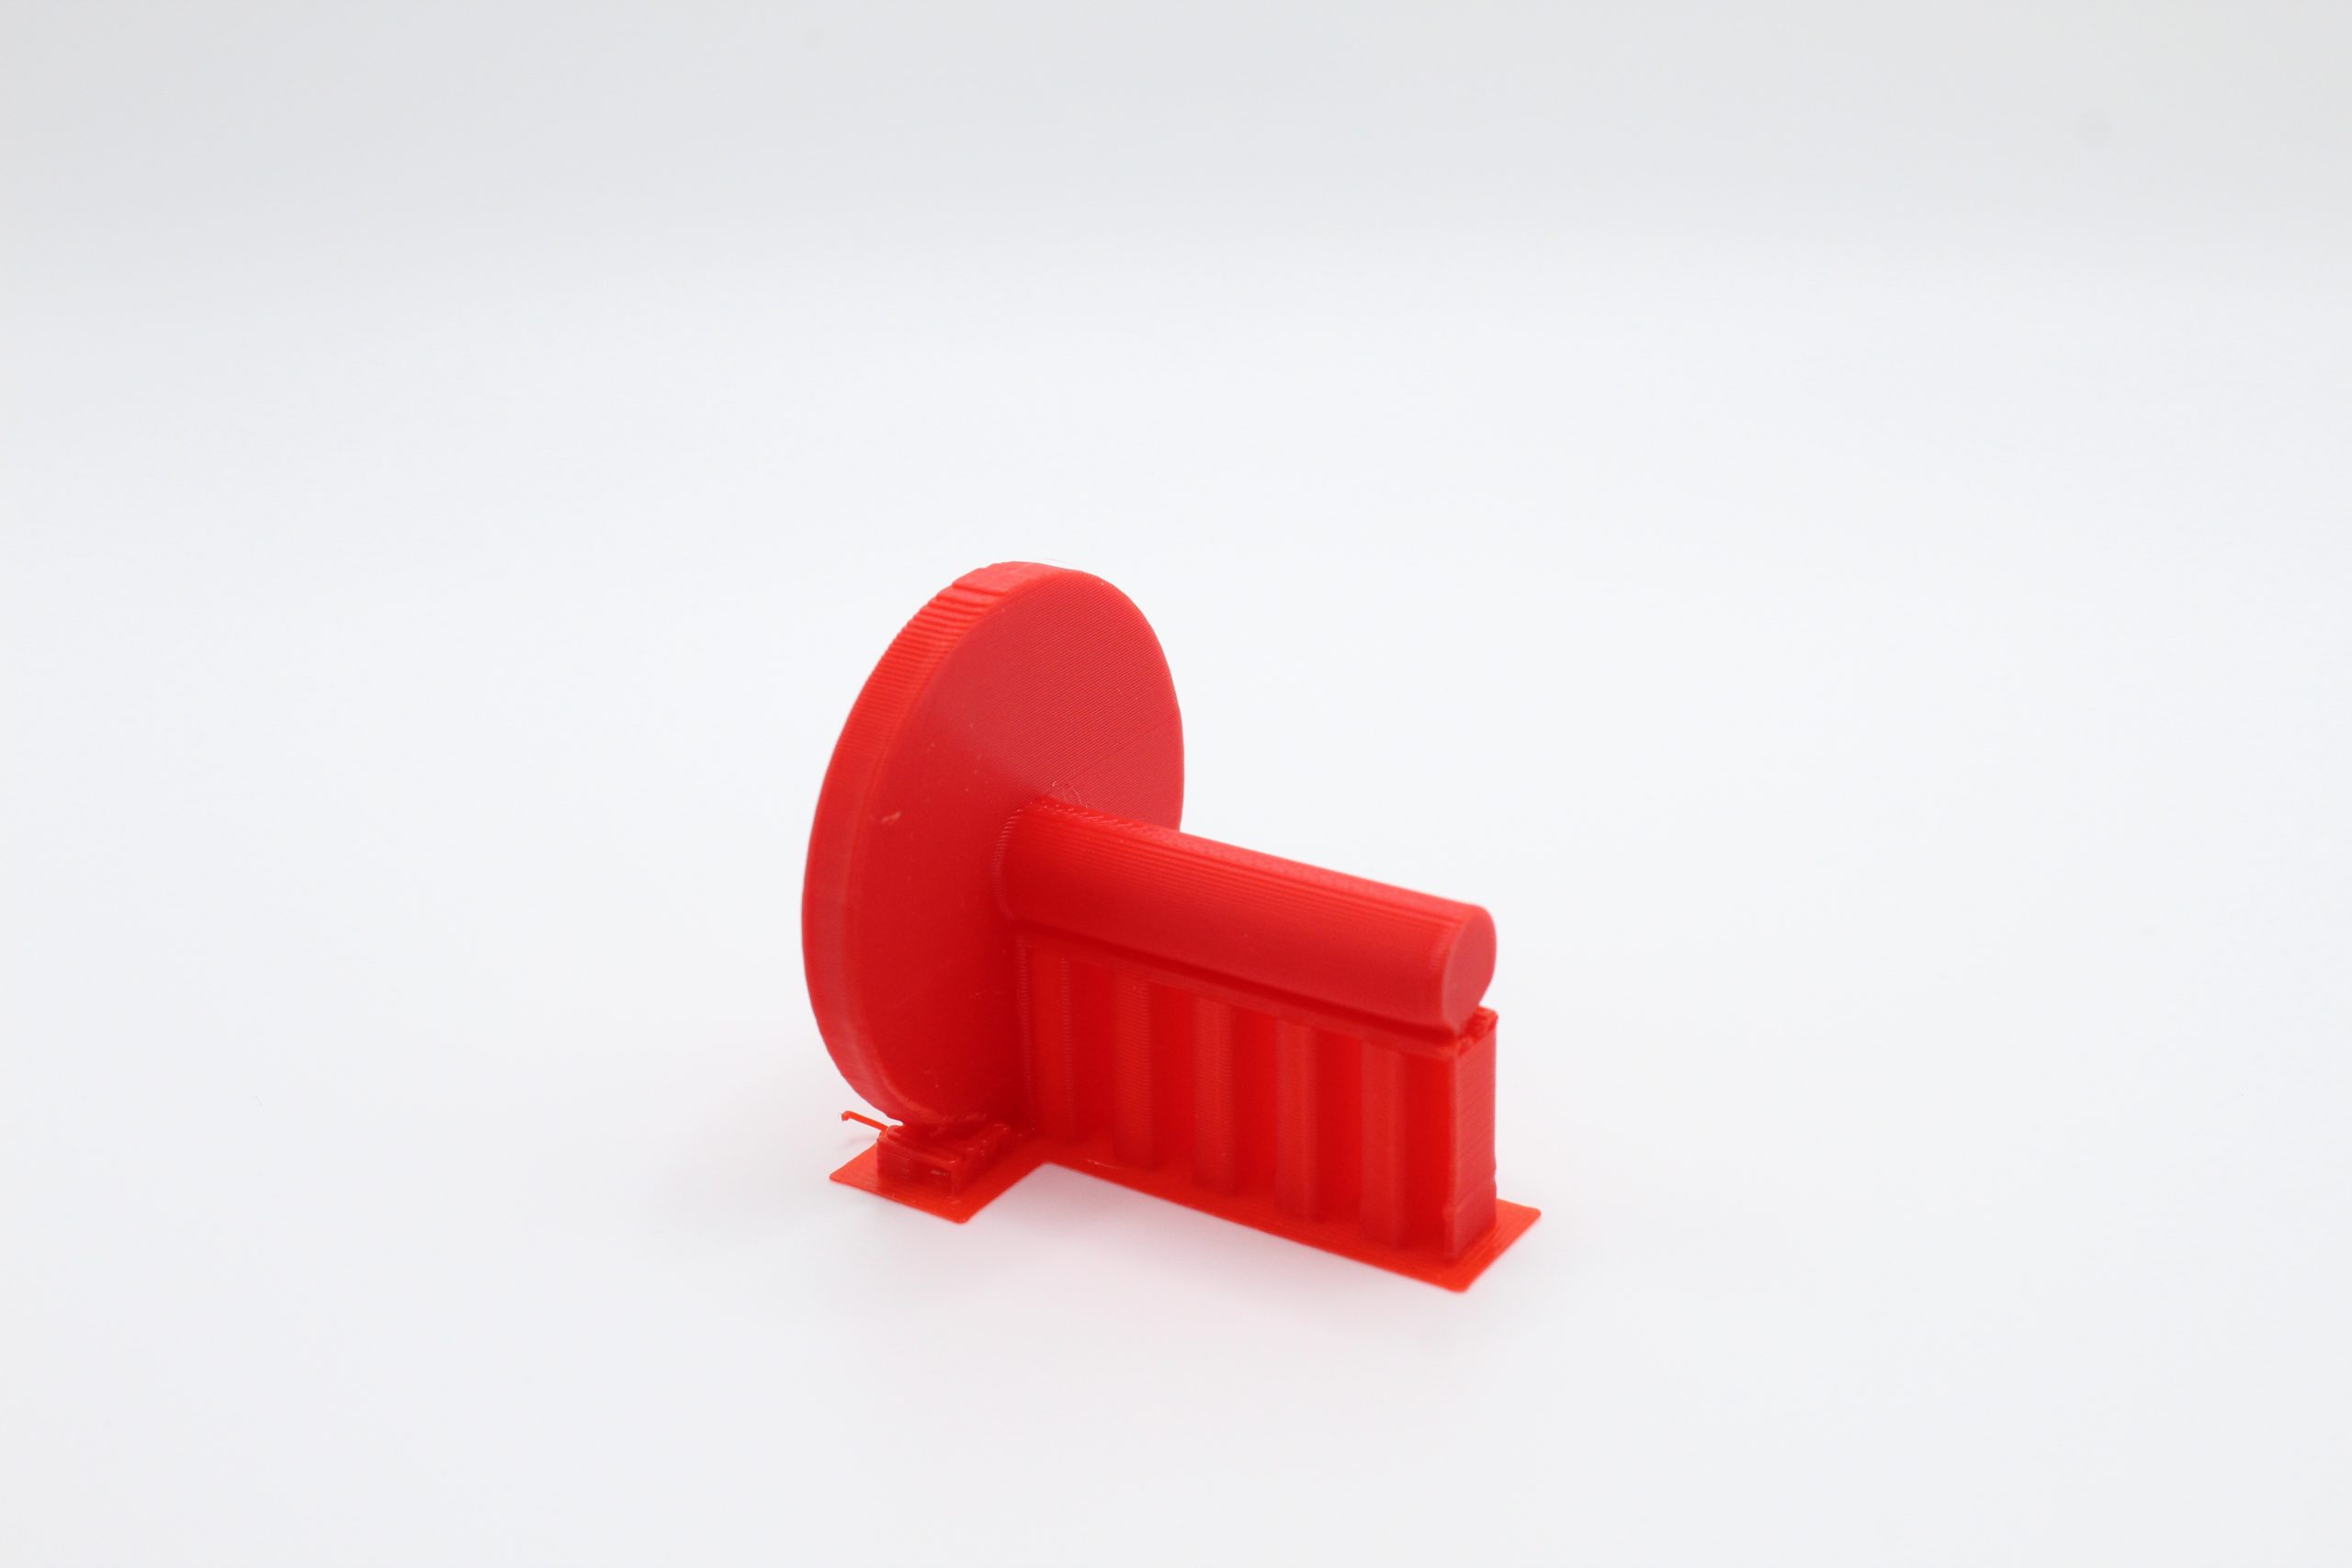
Part before supports were removed.
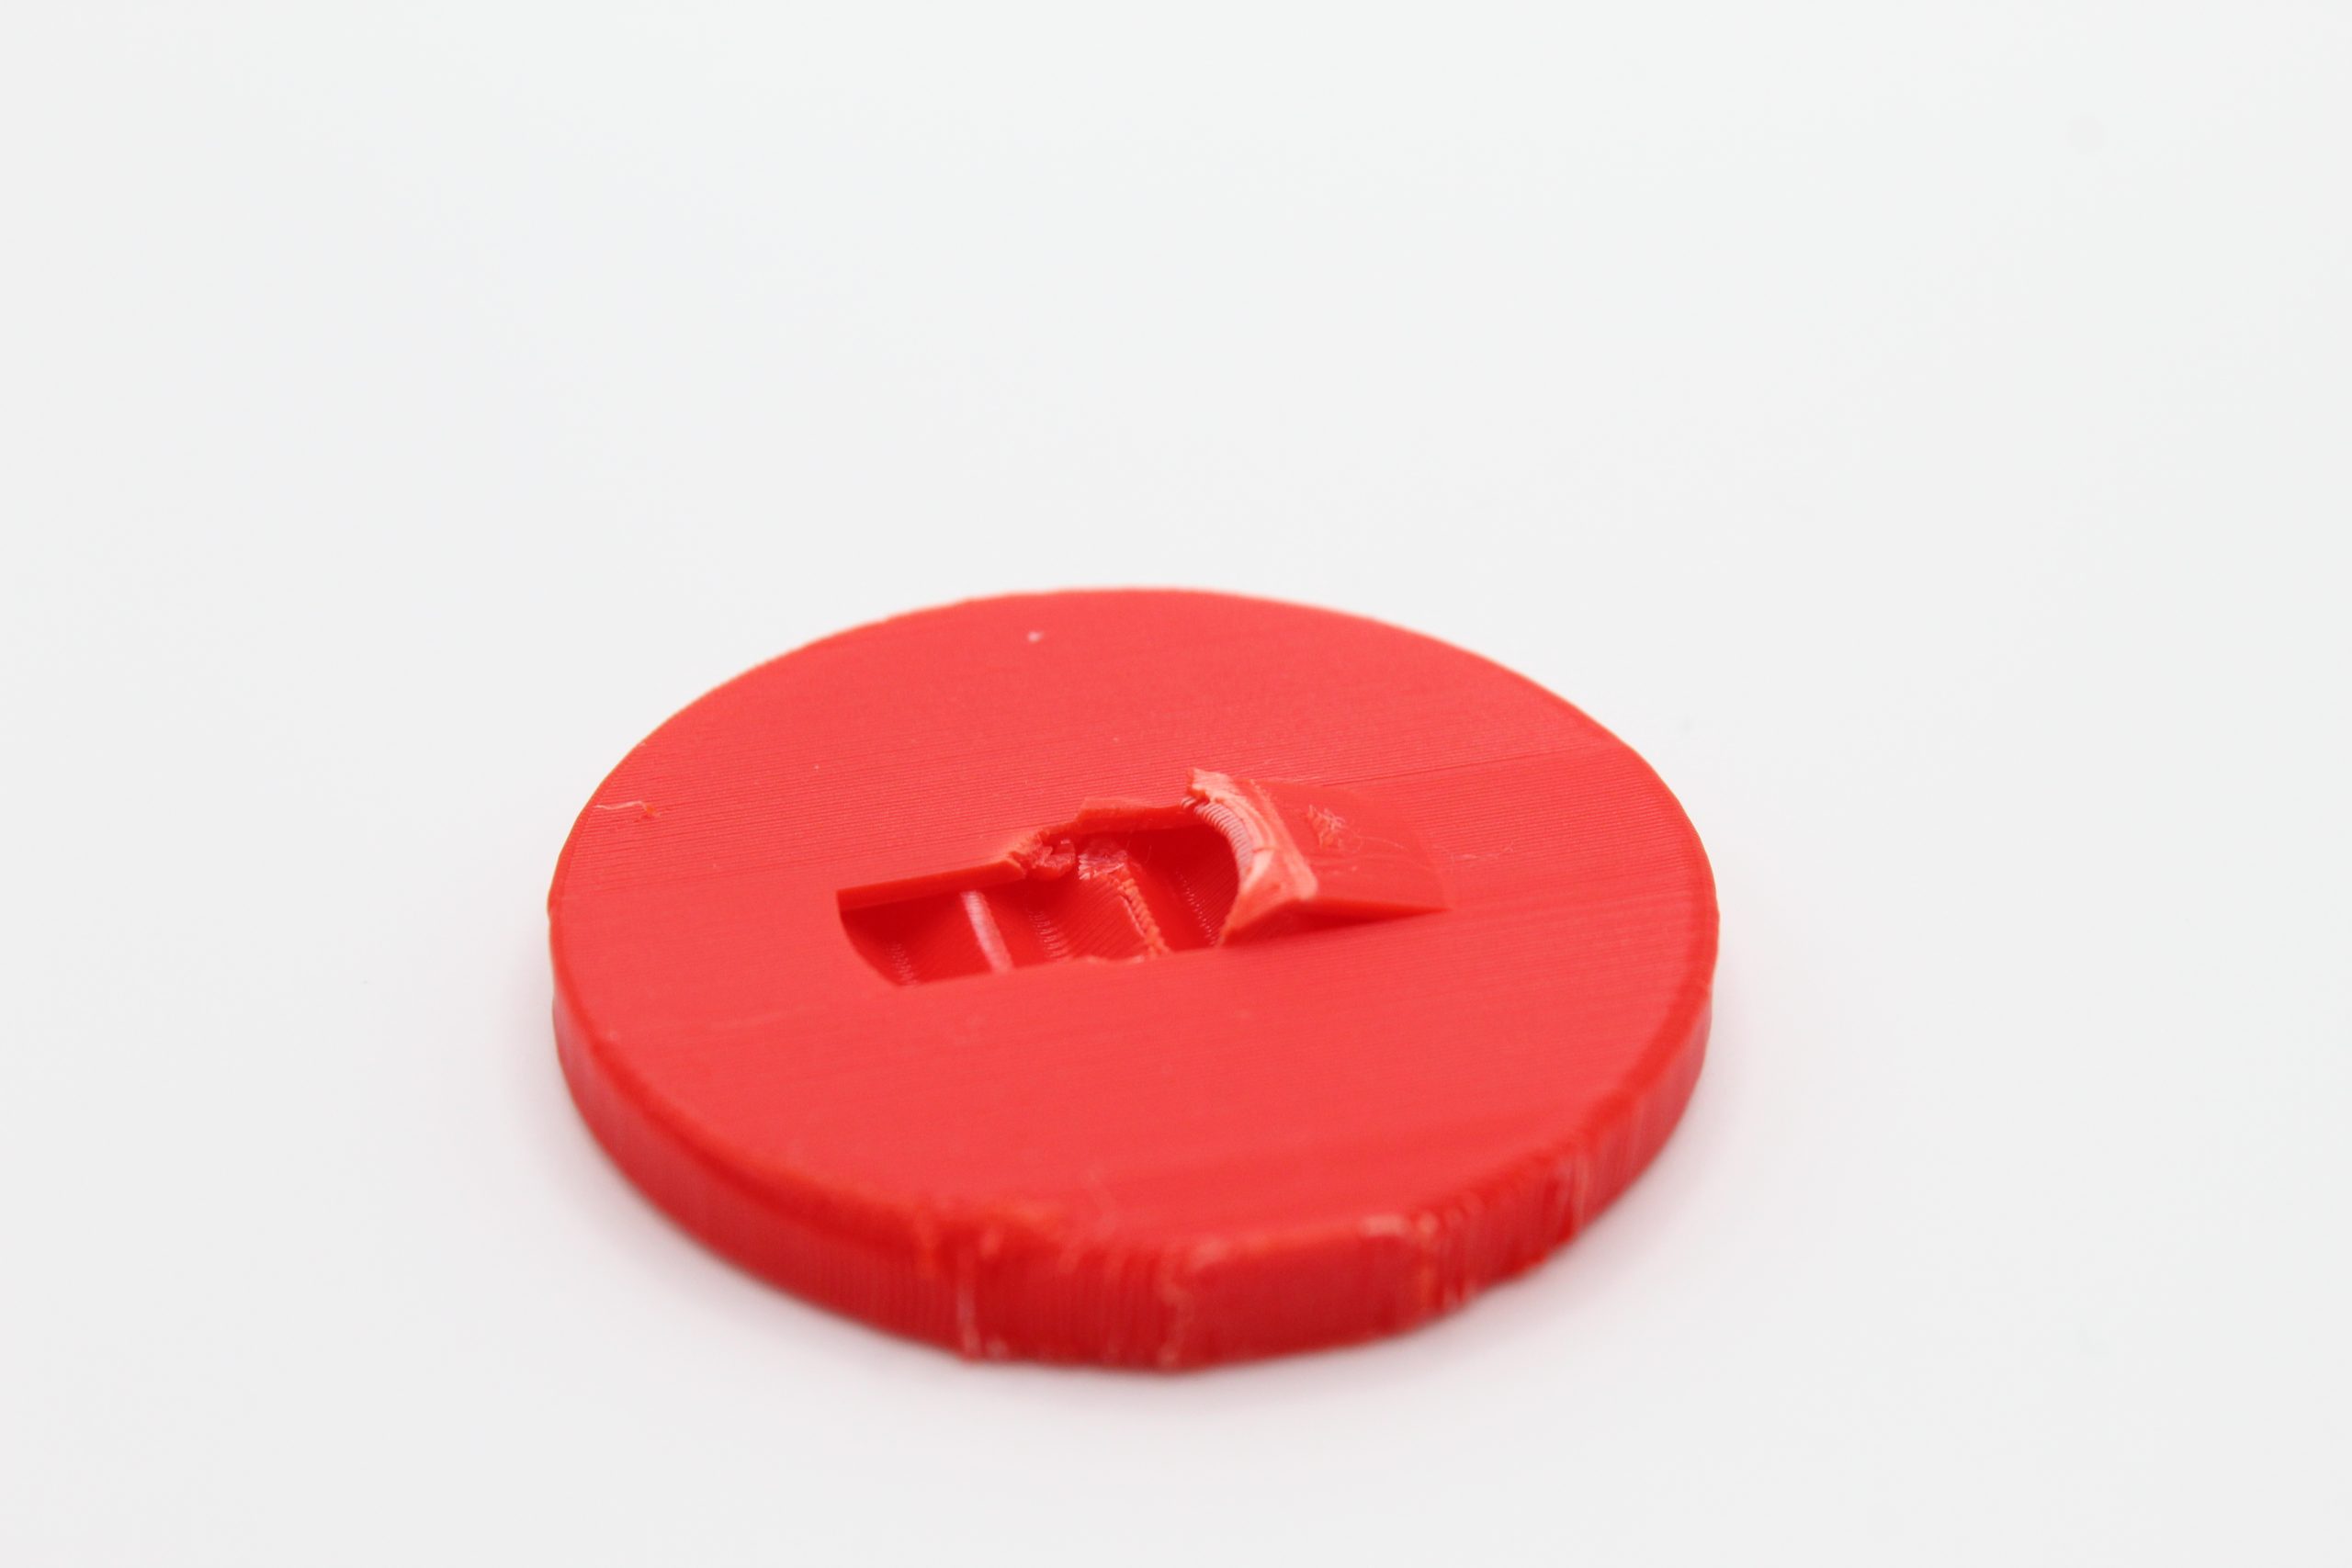
Part after testing, notice how the layers stuck together and the part took some of the circle face with it.
Overall, the strength required to break this part was a 7/10.
Fillet
This part has a fillet on the edge where the “axle” meets with the wheel. This will mostly eliminate the stress concentration.
The broken filleted part. Notice how the break occurred after the fillet.
Overall, the strength required to break this part was an 8/10.
Overview
Slicing is another way to increase a parts strength. The two main things that you can do are increase the infill percentage and the number of wall loops. Doing both of these things can dramatically increase the strength of a 3D printed part. A test done by the YouTube Channel, 3D Printer Academy, found that a 10mm x 10mm block can hold as much as 350 pounds at 100% infill! (Watch the full video here, 3:45-9 mins)
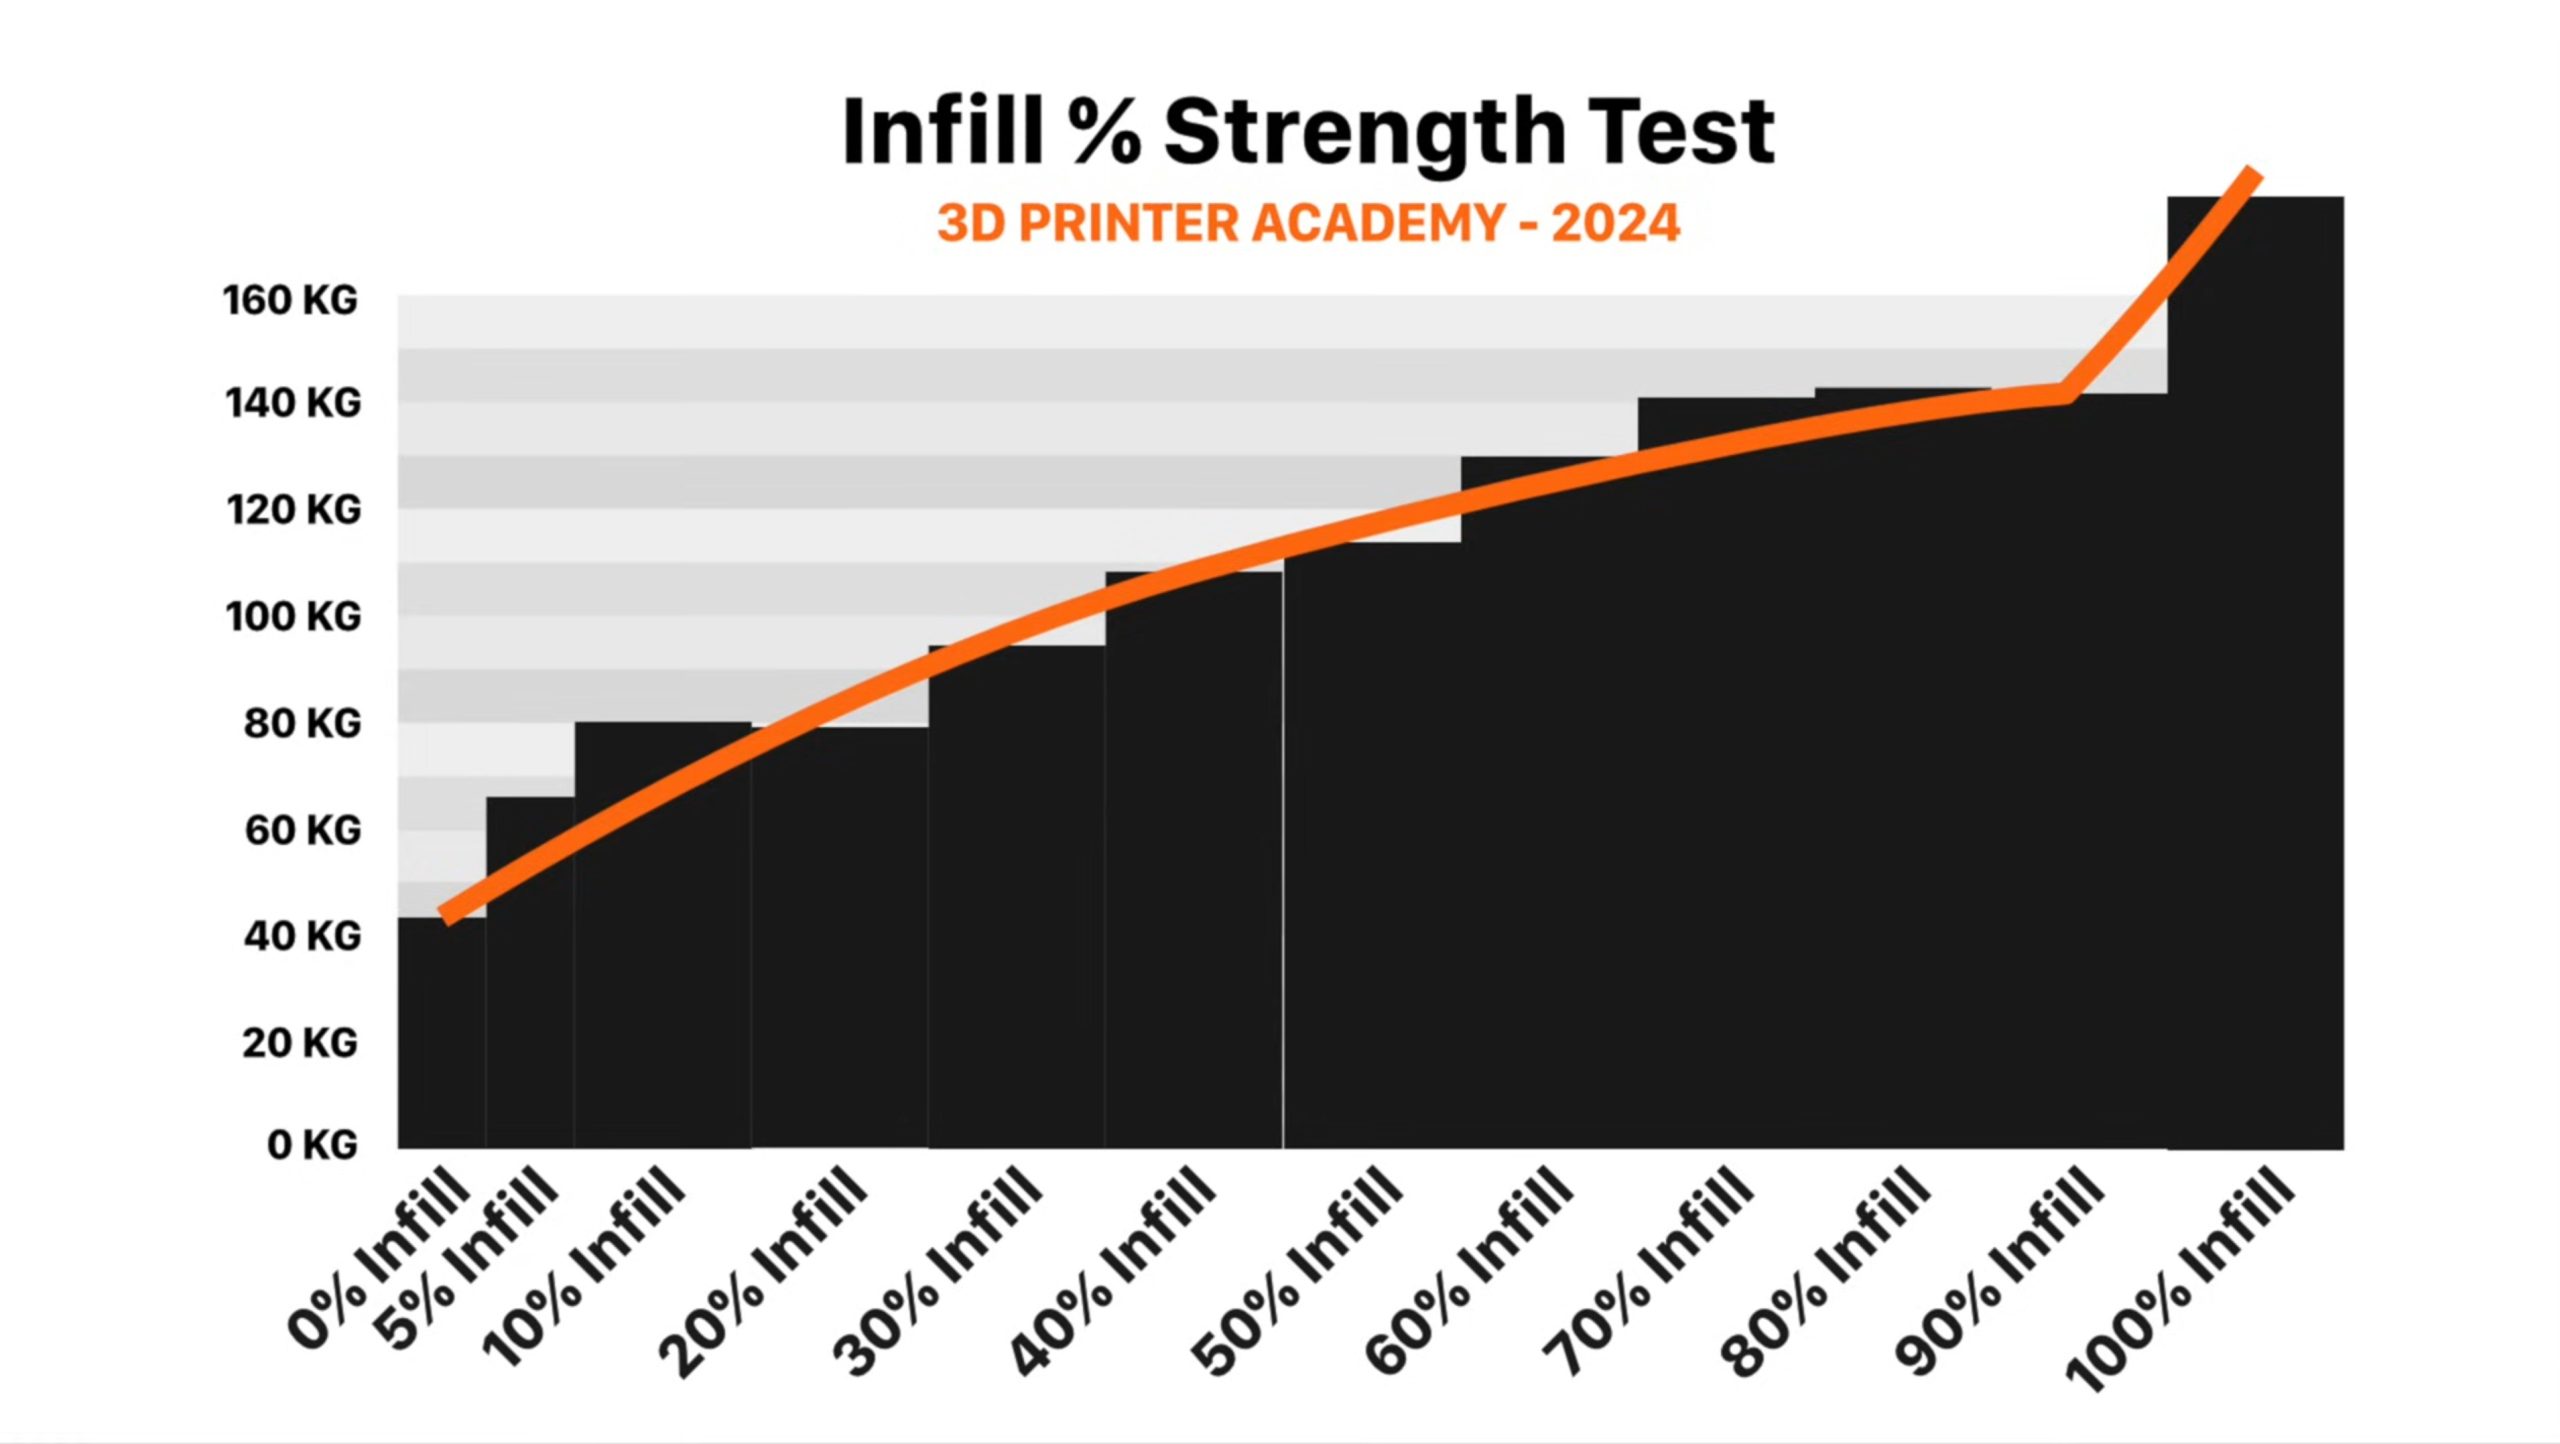
Weight at failure versus infill percentage for a 10x10mm block.
Image Source: 3D Printer Academy
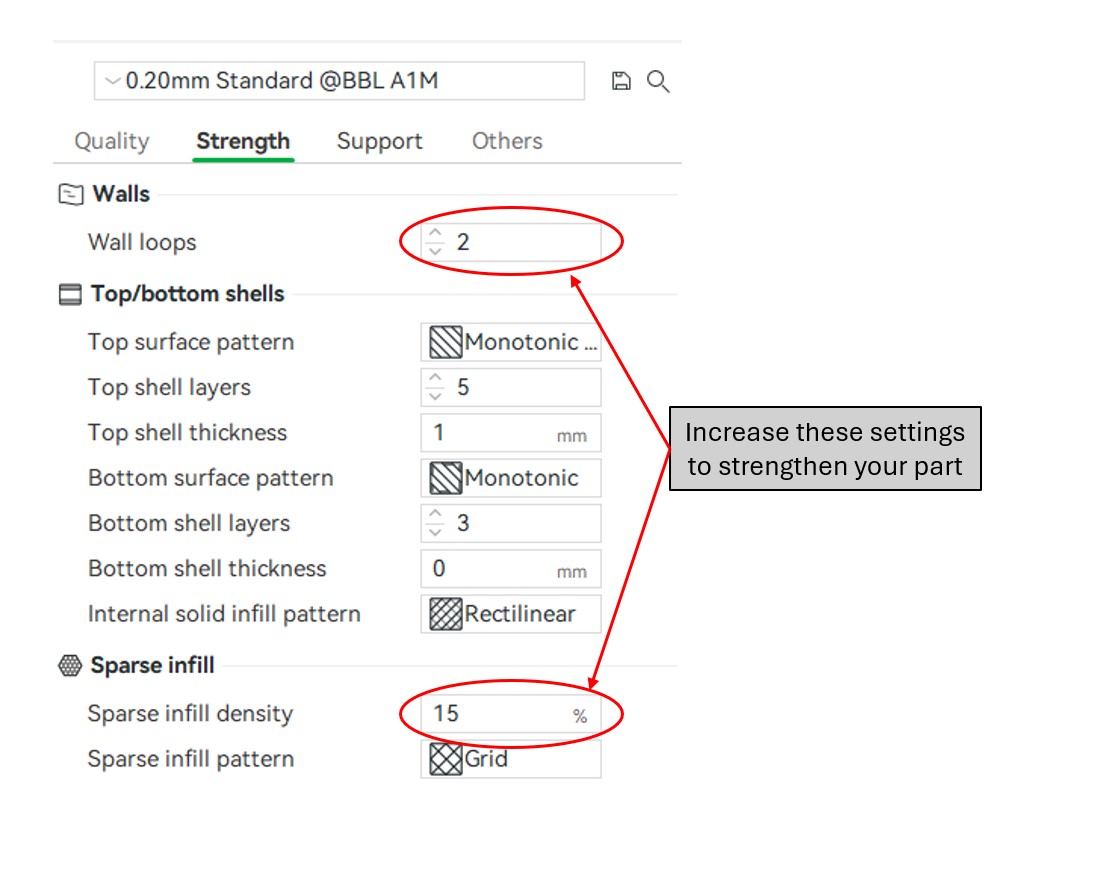
Settings to increase part strength. (Note: Increasing the number of wall loops above ~7 really has no affect on part strength.)
Metal Cores
An additional common technique for increasing the strength of a part is adding metal parts that are embedded within the 3D print. By doing this, you can increase the part strength of a 3D printed part by a very significant amount. In the example below, there is a bolt embedded within the pin shown.
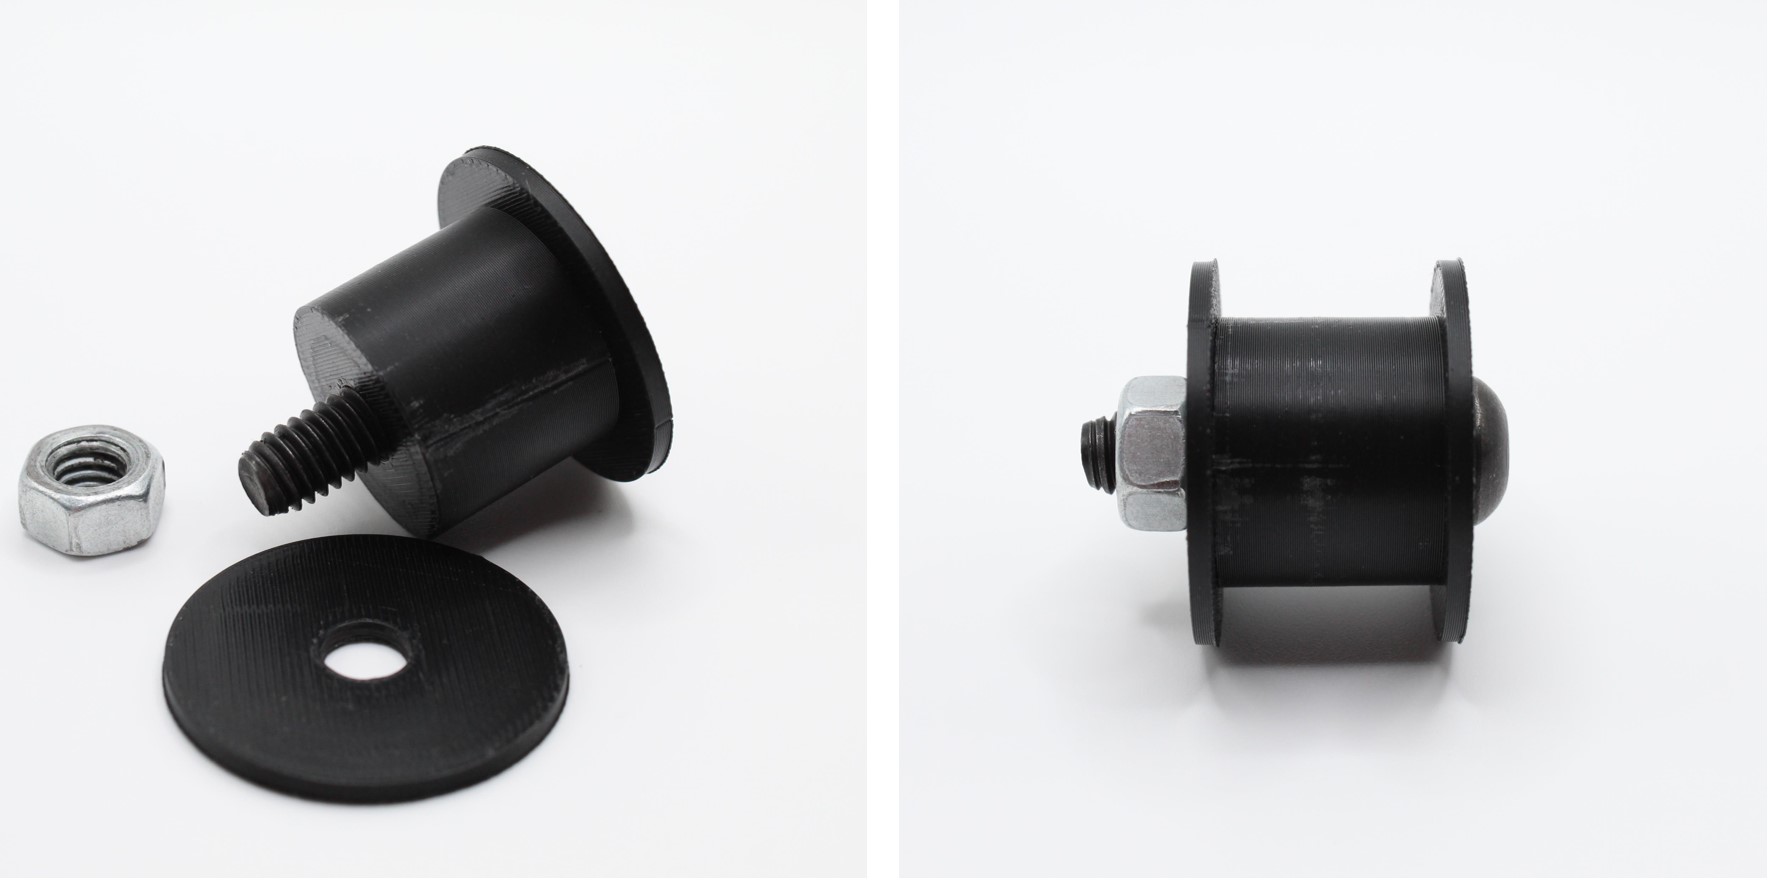
Pin with metal bolt going through the center of it