Preparing a PDF from OnShape
This guide will walk you through how to create a drawing of your part for laser cutting in ME2109. In this tutorial, you will learn how to create the custom drawing template to be submitted for the laser cutting request form. This tutorial only covers creating a PDF for cutting, if you want to raster or engrave anything, email Ethan (edburton@wisc.edu) for assistance.
Creating Custom Drawing Template
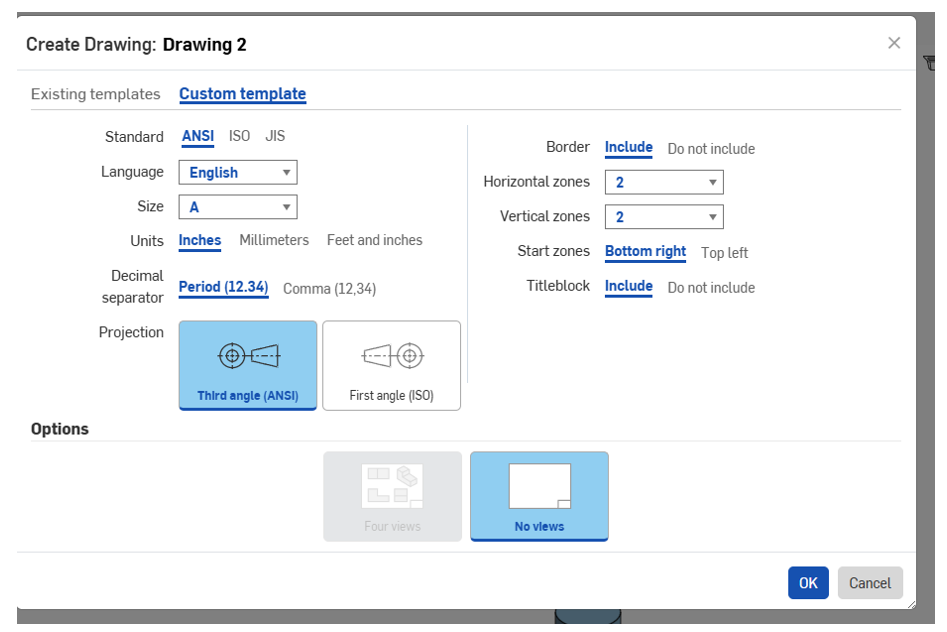
Once you have created your part to be laser cut, create a custom drawing template using any of the preset options.
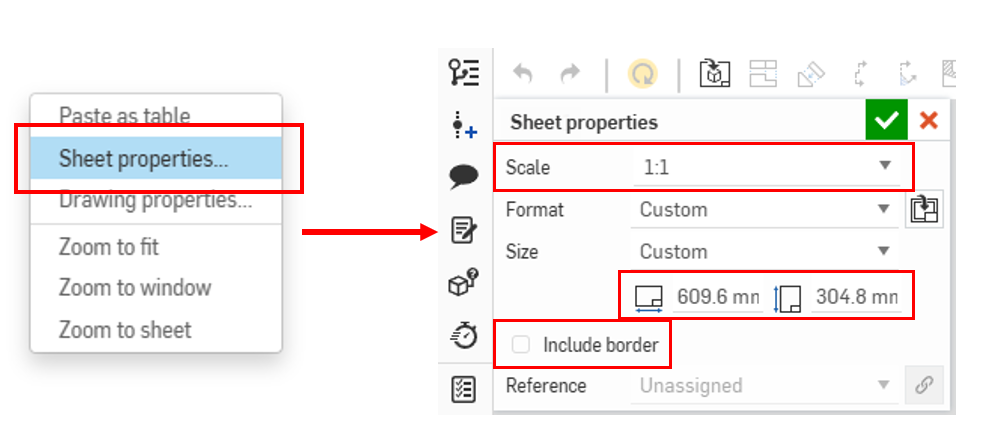
Once you click “OK”, hit close on the insert a part window, then right-click on the drawing sheet, then select “Sheet properties”. Once you do this, set the Scale to be “1:1″, Format to be Custom, and Size to be Custom. Set the size to be 12″ x 24” (609.6 mm x 304.8 mm). Lastly deselect the “Include Border” box.
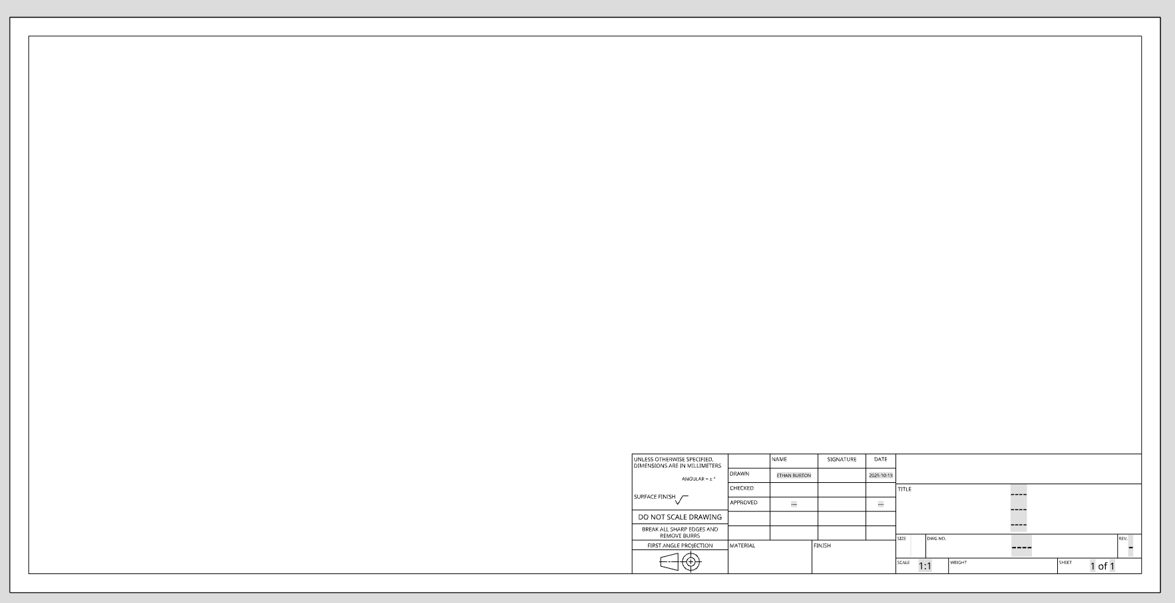
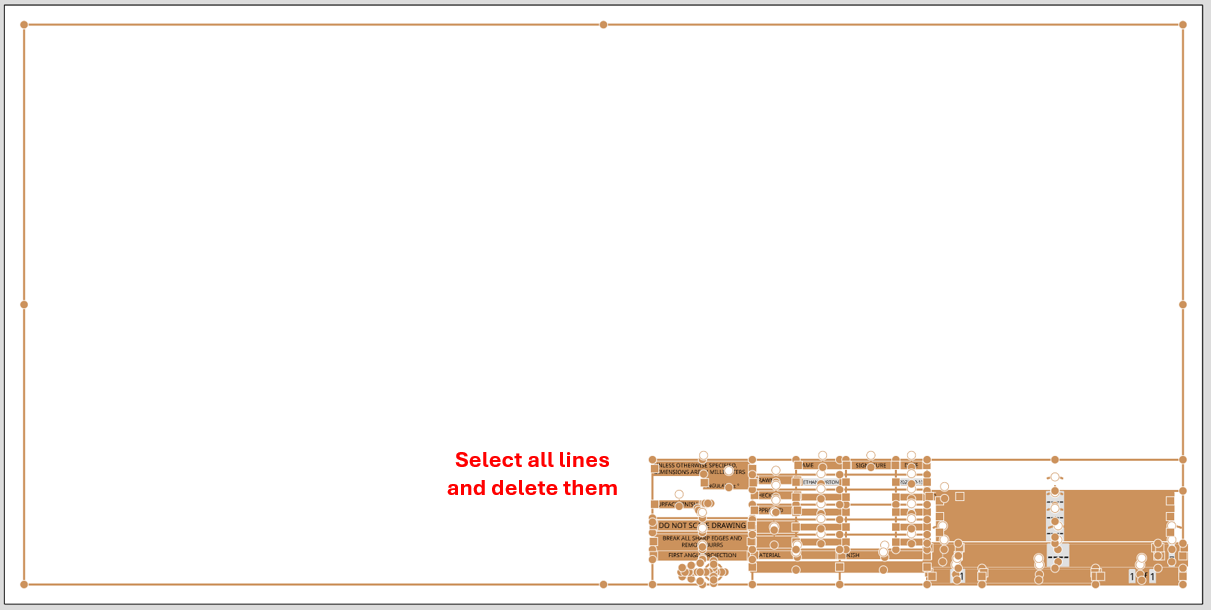
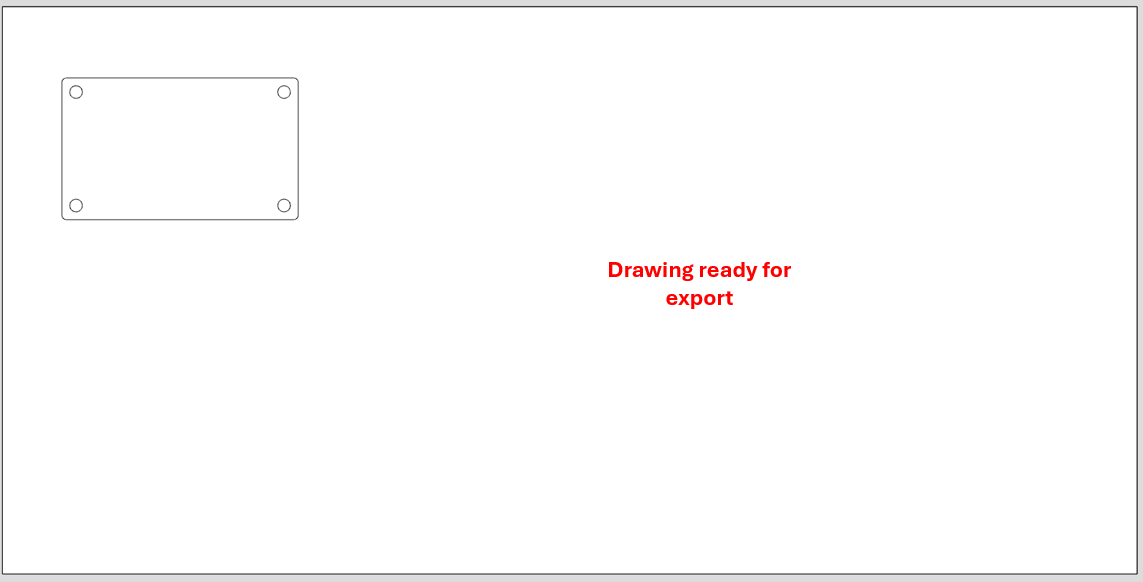
Once you hit the green check mark, your sheet should look like this. Select all of the border and title block lines and hit the delete key to remove them.
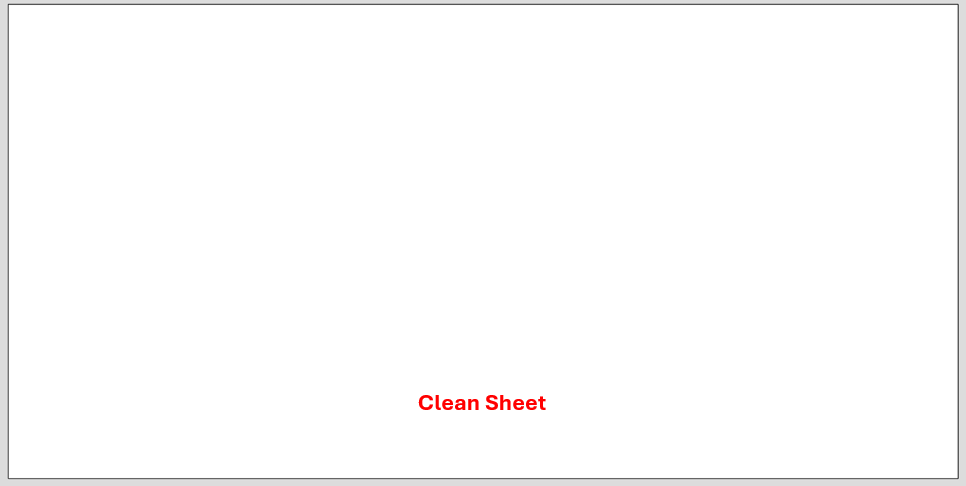
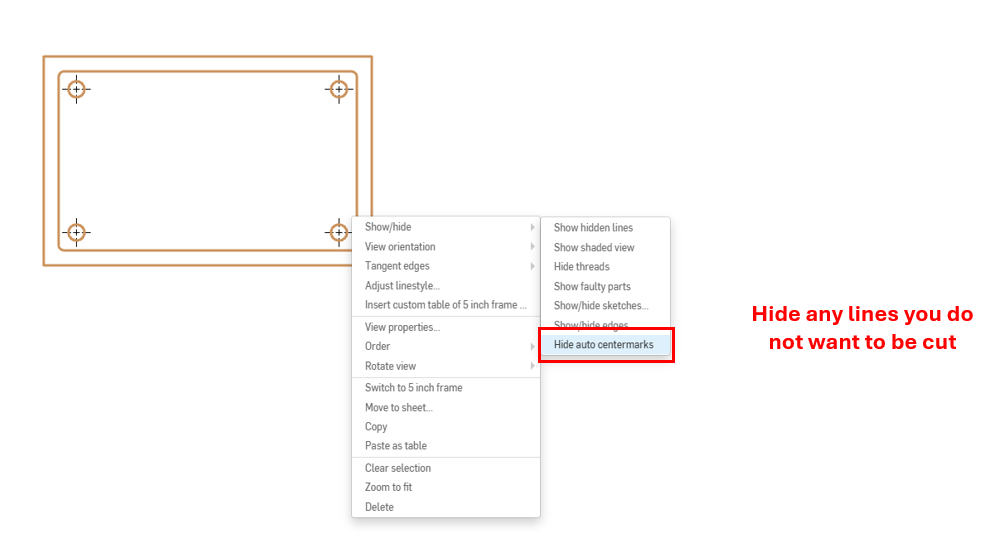
Once you have a clean sheet, add your part in the view that you want to be cut. Note that if your part includes circles, OnShape will add auto center marks. Right click on your part, hit “Show/Hide”, then “Hide auto centermarks”.
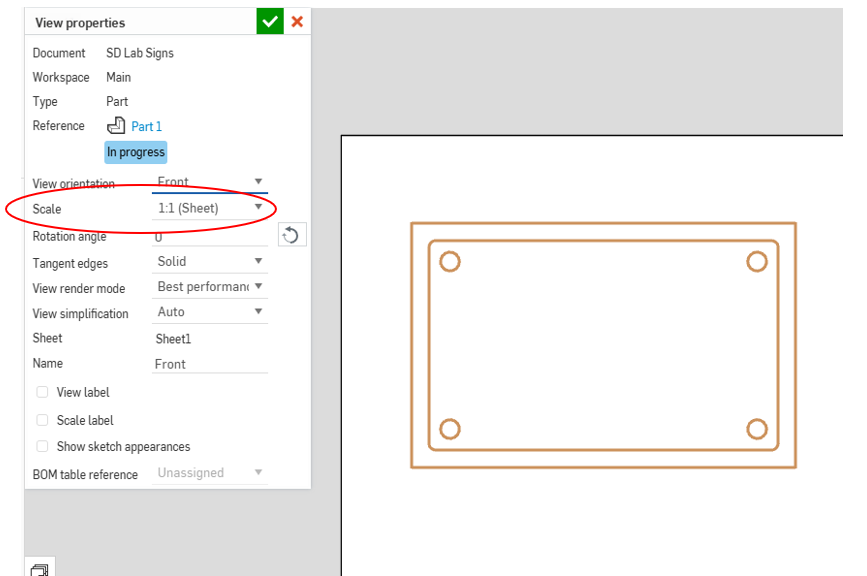
Once you have finished everything and hidden all lines you do not want to be cut, double check your scaling by right clicking on your part and ensure that the scale says “1:1”.
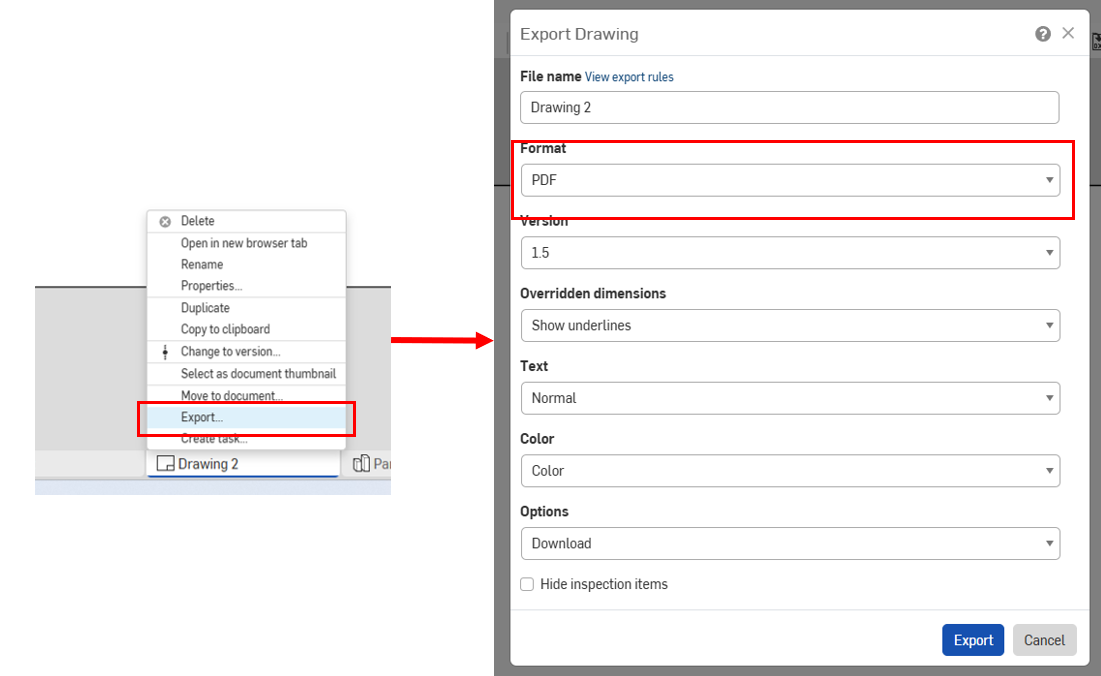
Once you have finished all of the steps, right click on your drawing on the bottom, hit export, then chose the format to be PDF, and upload it to the laser cutting request form.