Preparing a PDF from SolidWorks
This guide will walk you through how to create a drawing of your part for laser cutting in ME2109. In this tutorial, you will learn how to create the custom drawing template to be submitted for the laser cutting request form. This tutorial only covers creating a PDF for cutting, if you want to raster or engrave anything, email Ethan (edburton@wisc.edu) for assistance.
Note: this tutorial was made on SolidWorks 2025, if you have any questions regarding PDF creation, reach out to Ethan (edburton@wisc.edu)
Creating Custom Drawing Template
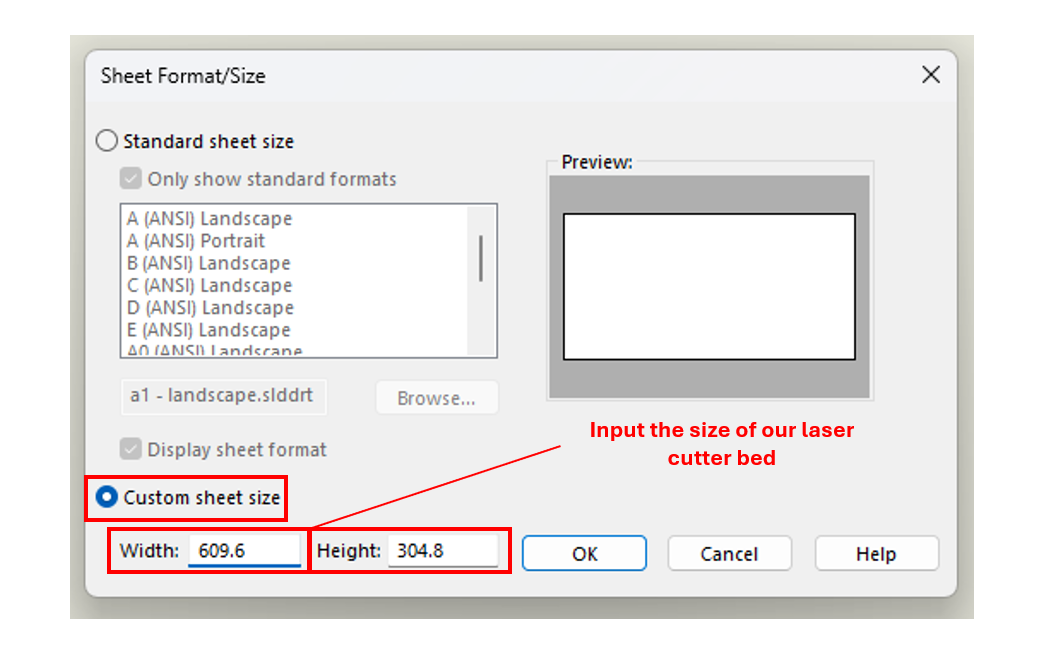
Once you have created your part to be laser cut, create a new drawing following the pictures below. Select “Custom Sheet Size” then input the size as 12″ x 24″ (609.6mm x 304.8mm), the size of our laser cutter bed.
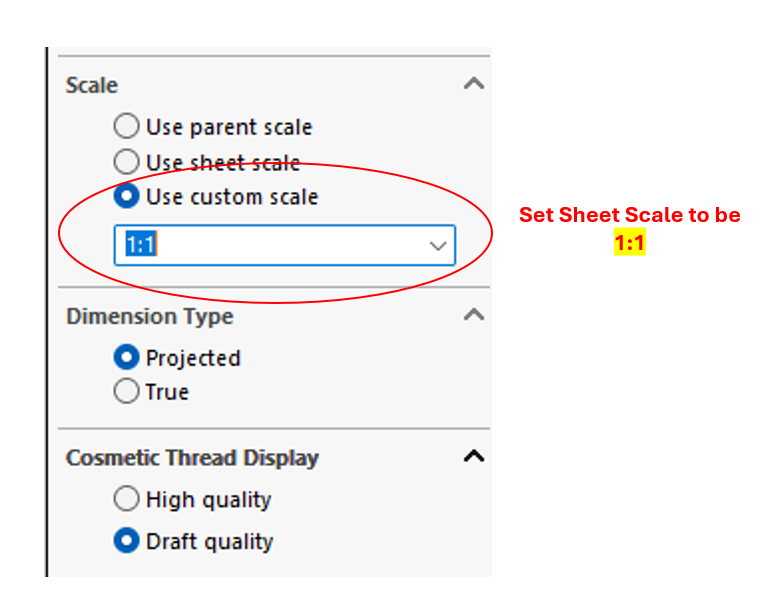
Once you click “OK”, set the sheet scale to be “1:1” by clicking custom scale.
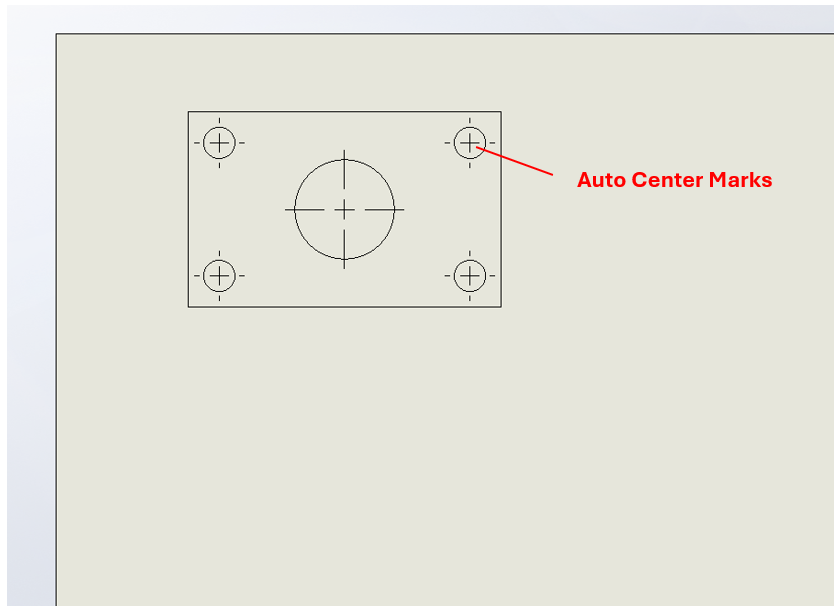
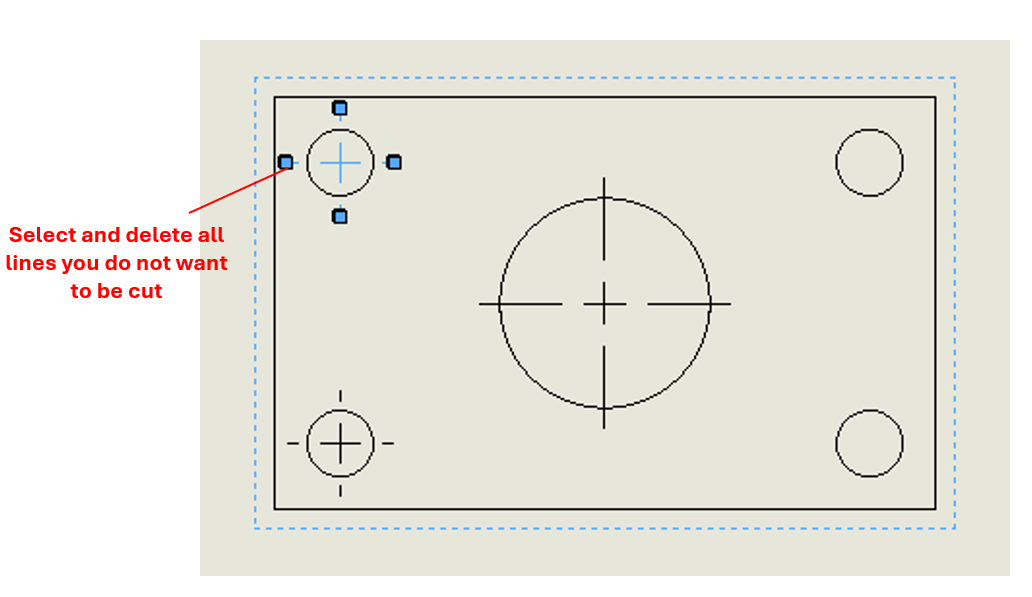
Drop your part in the orientation of what you want cut. Note that if you have any circles, SolidWorks will add auto center marks. Select the center marks and delete them by hitting the “delete” key on your keyboard. It is important that the only geometries you want cut are visible on the drawing.

Once you have your geometry you want to be cut, double check the scaling by double-clicking on the part and ensure that the scale is set to 1:1. After this, hit File-Save As- a “.pdf” file and upload it to the laser cutting form.