Overview
Post-processing is the another important step to having a successful 3D-Print. Post-processing involves removing supports, removing stringing, sanding, painting, adding inserts, drilling holes, assembly, etc. Effective post-processing can not only enhance the aesthetics of the part, but also improve its functionality and performance.
Overview
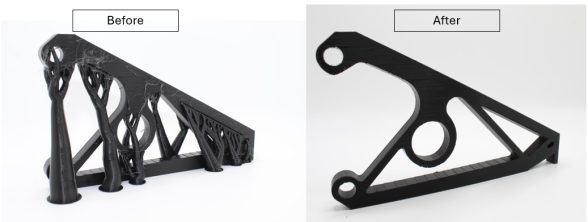
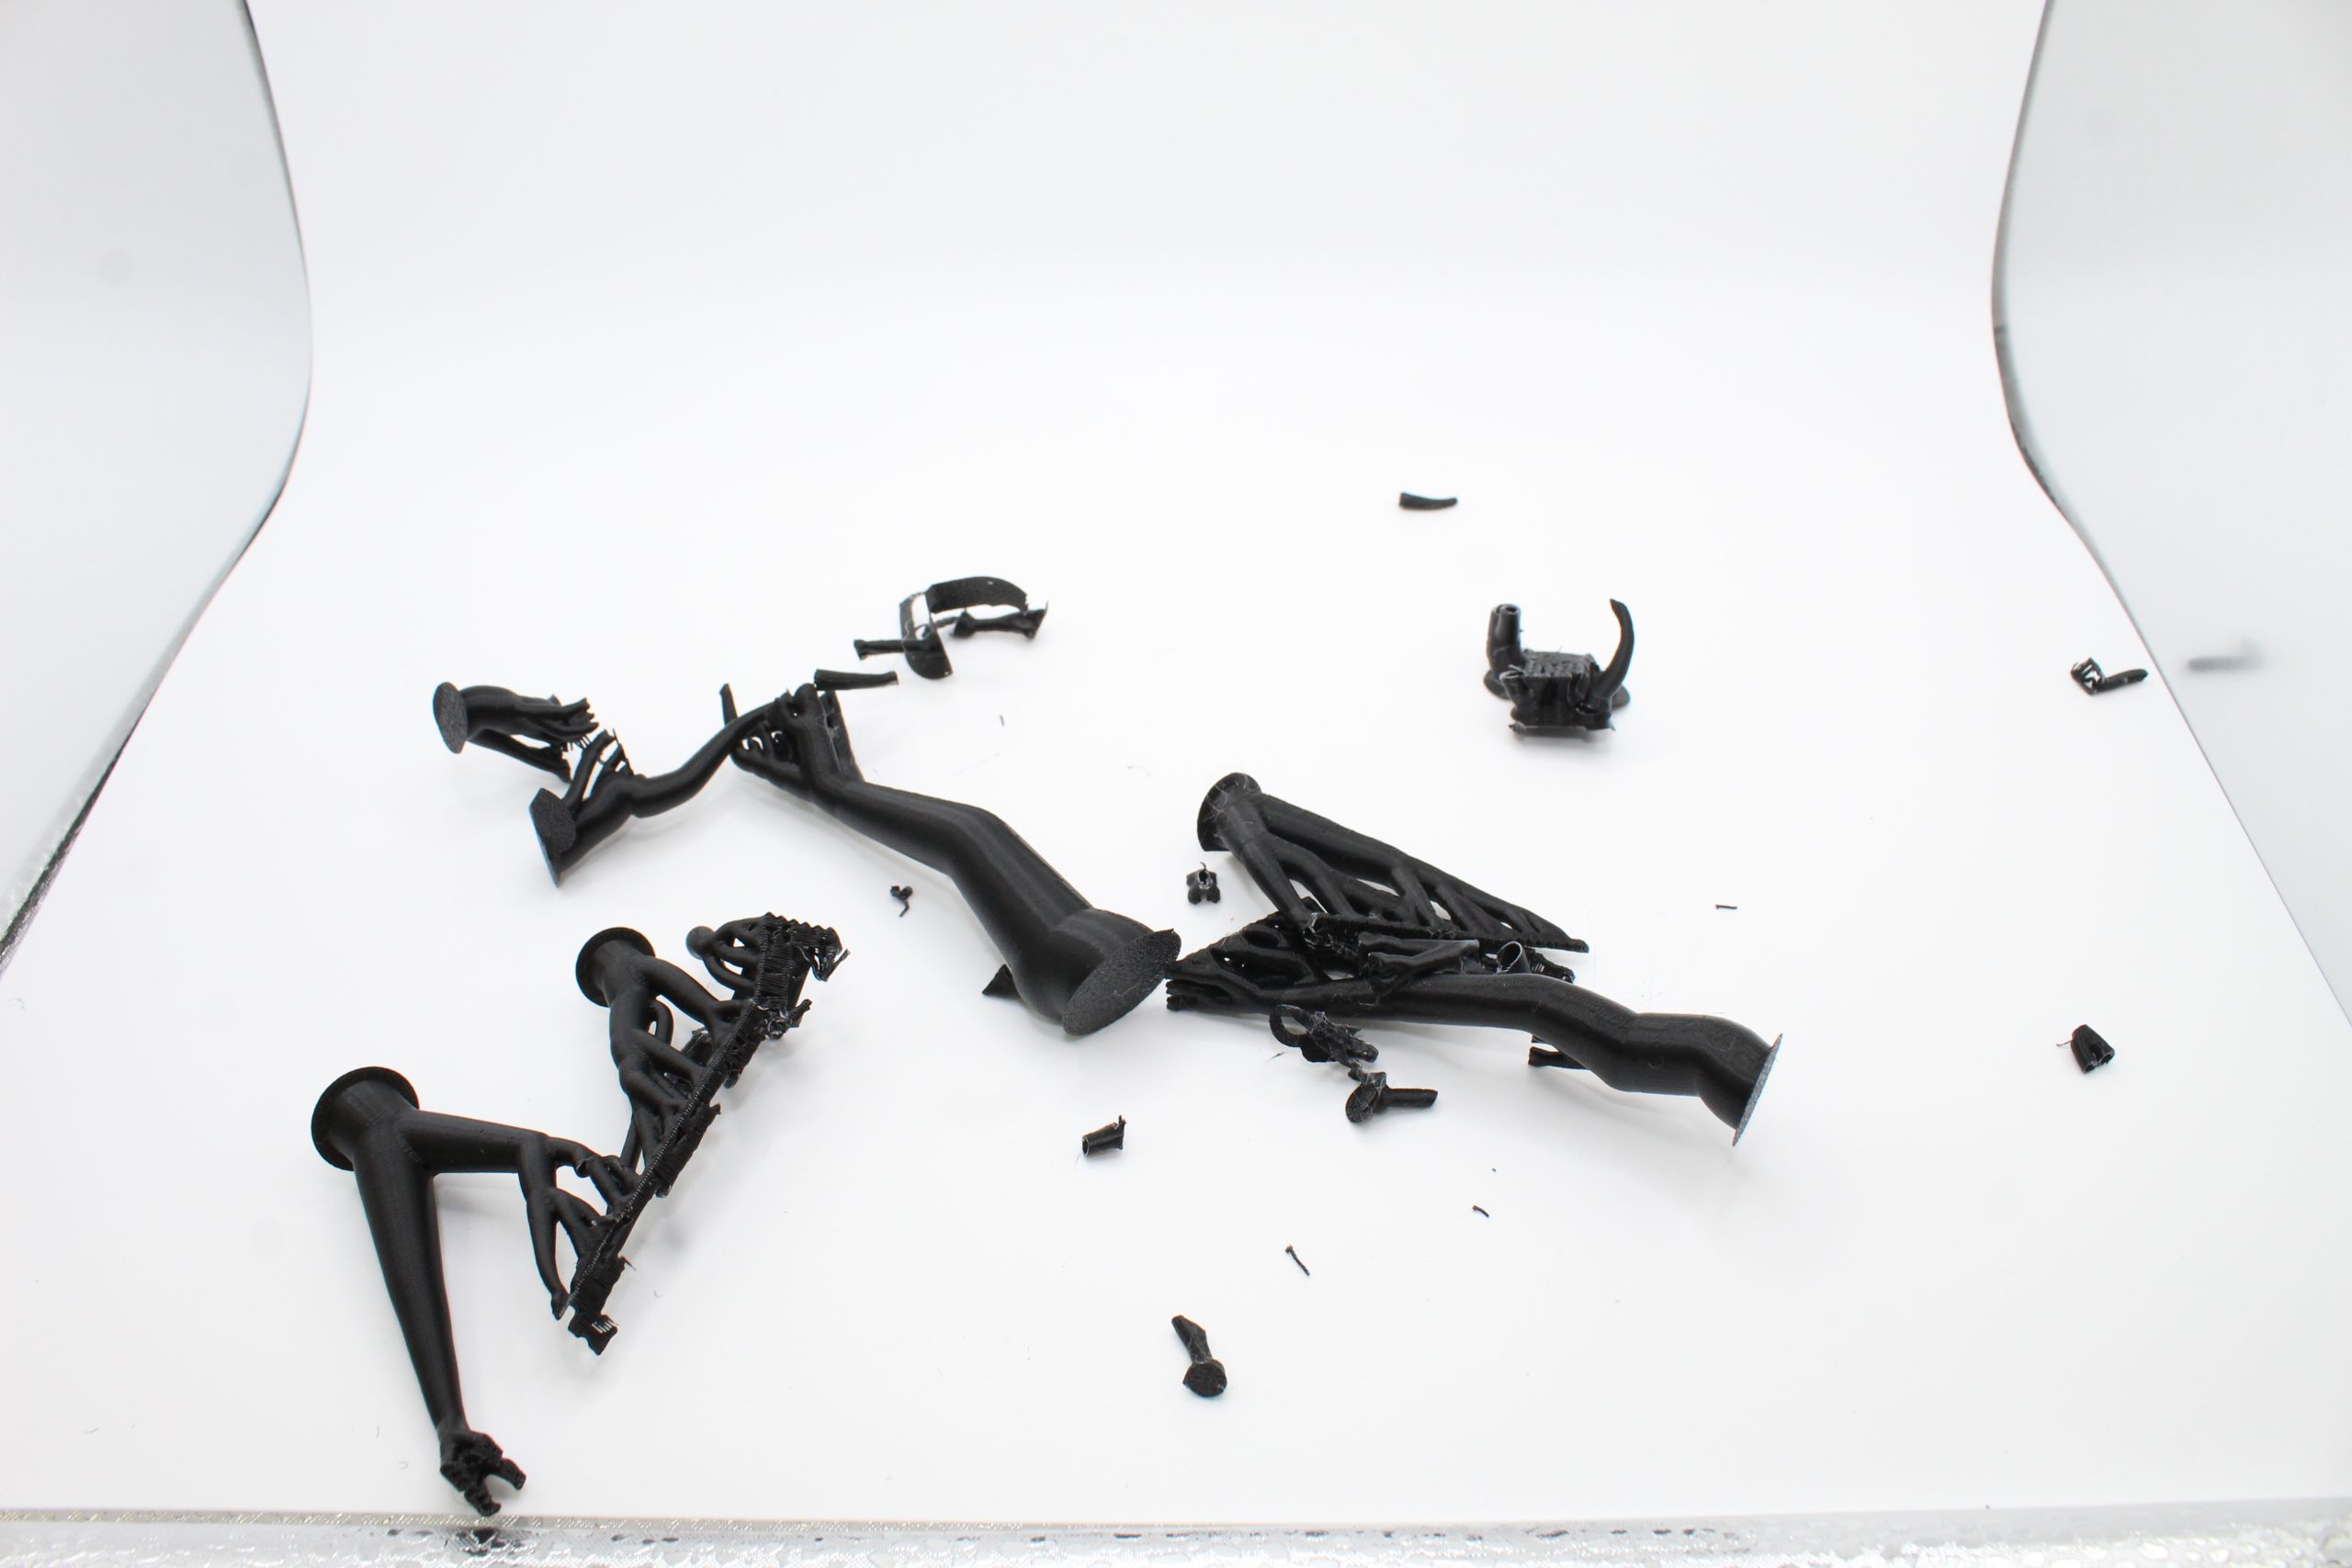
Support removal is most likely the most common type of post processing. Support removal can be a tedious task and can sometimes lead to damaging the part if not careful. It is also a messy job, so make sure to clean up after yourself when removing supports to keep the design lab clean.
Techniques
Use the side cutters or needle nose pliers to snip at and pry the supports off the model. Be careful not to damage your model, and try to avoid using too much strength to remove supports, as it can be easy to break your part.
Clean Up
Removing supports can be a messy job. Make sure to keep the lab clean and clean up after yourself!
Overview
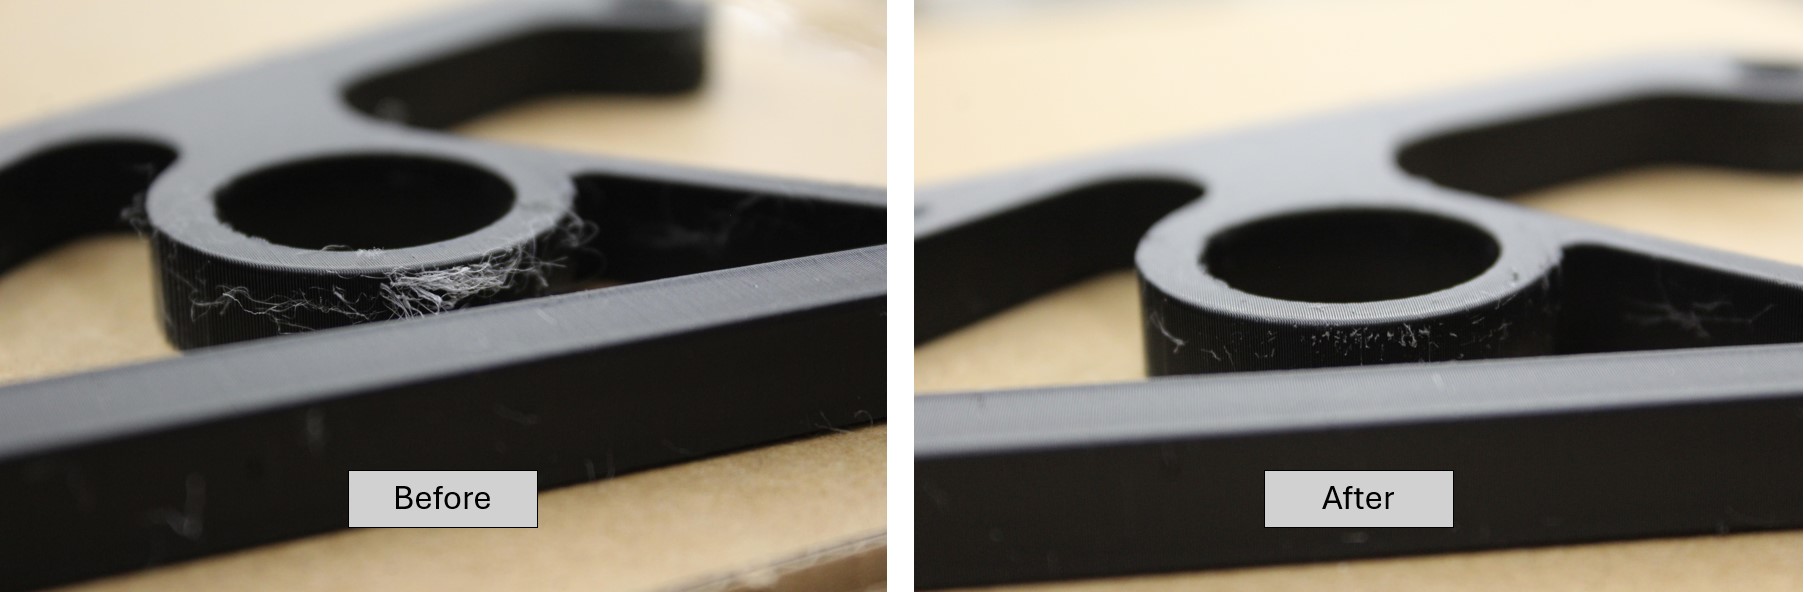
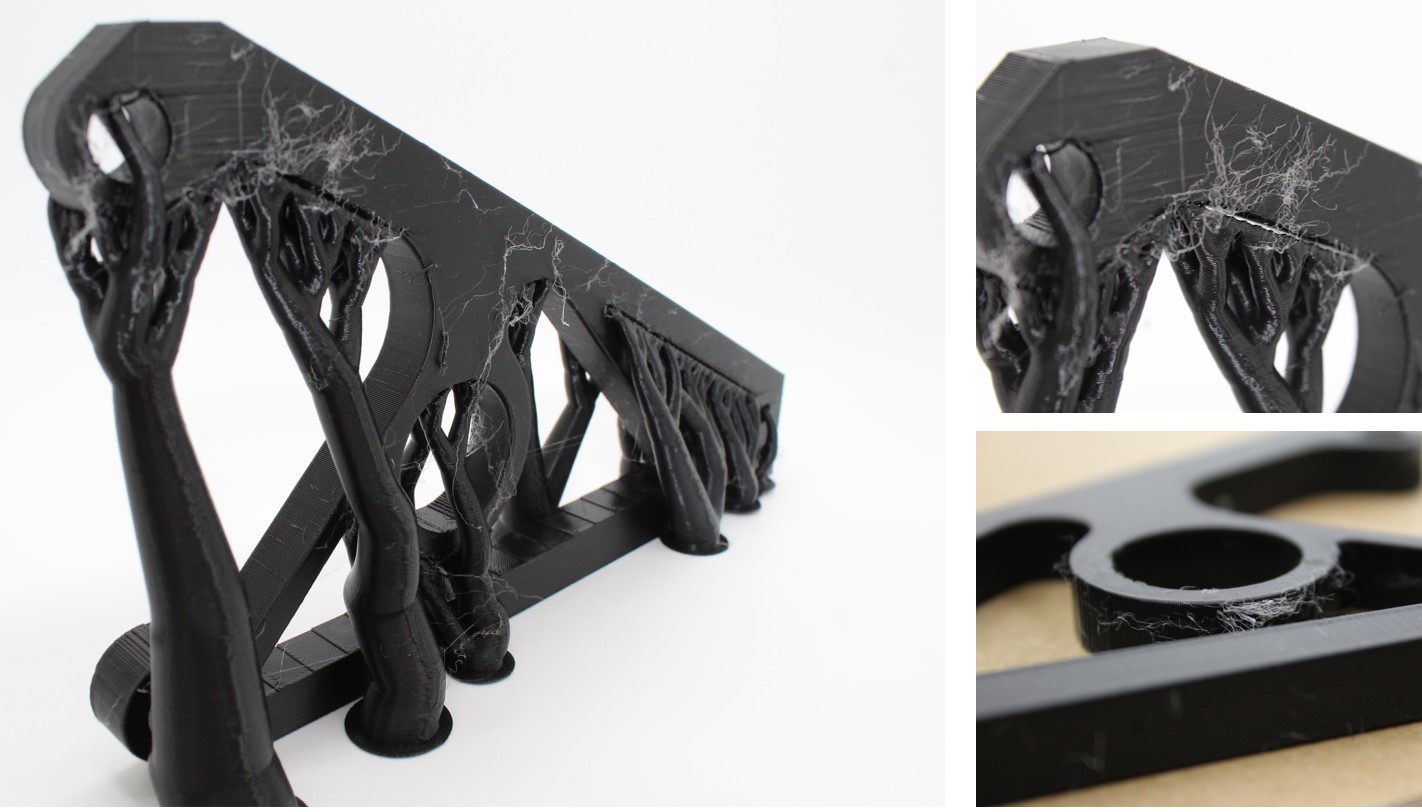
Stringing is a common printing “artifact” that can occur due to a multitude of reasons such as, printing temp, humidity, flow calibration, etc. Stringing does not affect the dimensional accuracy or the structural integrity of the part, but it does not look visually appealing. Luckily, stringing is a very easy thing to fix.
Examples of stringing
Fixing Stringing
The first method for removing stringing is simply using your fingers or pliers to pull the stringing off. This method is a quick, but dirty method of removing stringing.
The second method involves the use of a heat gun. To removing the stringing with a heat gun, simply apply the heat gun to the affected area for a couple of seconds, until the stringing is removed. (Be careful to not hold the heat gun too close for too long as it will melt your part.) After doing this, give the part a couple of seconds to cool, then use your finger to wipe the part clean. (See the video at the video at the bottom of this page to see the heat gun work.)