Lo-Fi Prototyping
Create the right prototype at the right time.
The whole point of a prototype is to answer or clarify a design question. Thus a designer’s goal should be to answer or clarify said question in the simplest and fastest manner possible. This is where different fidelity prototypes come into play. Often lower fidelity prototypes are made more often early on in the design process, however it is still common to use low fidelity methods much later in the design process to test out a specific design idea/question.
Prototype Checklist:
- What question or design decision is being tested?
- What features/fidelity must be added/reached to answer said question?
- What features/fidelity can be left out or omitted?
- How will you know the question has been sufficiently answered?
Many early design questions can be answered quickly with tools and supplies on hand before reaching into CAD or complex manufacturing processes. The first tool used by many designers is sketching and is explored in the sketching module. Another great early tool many designers use are simple calculations. Many projects/systems can be simplified into a form that can be checked or verified using simple calculations.
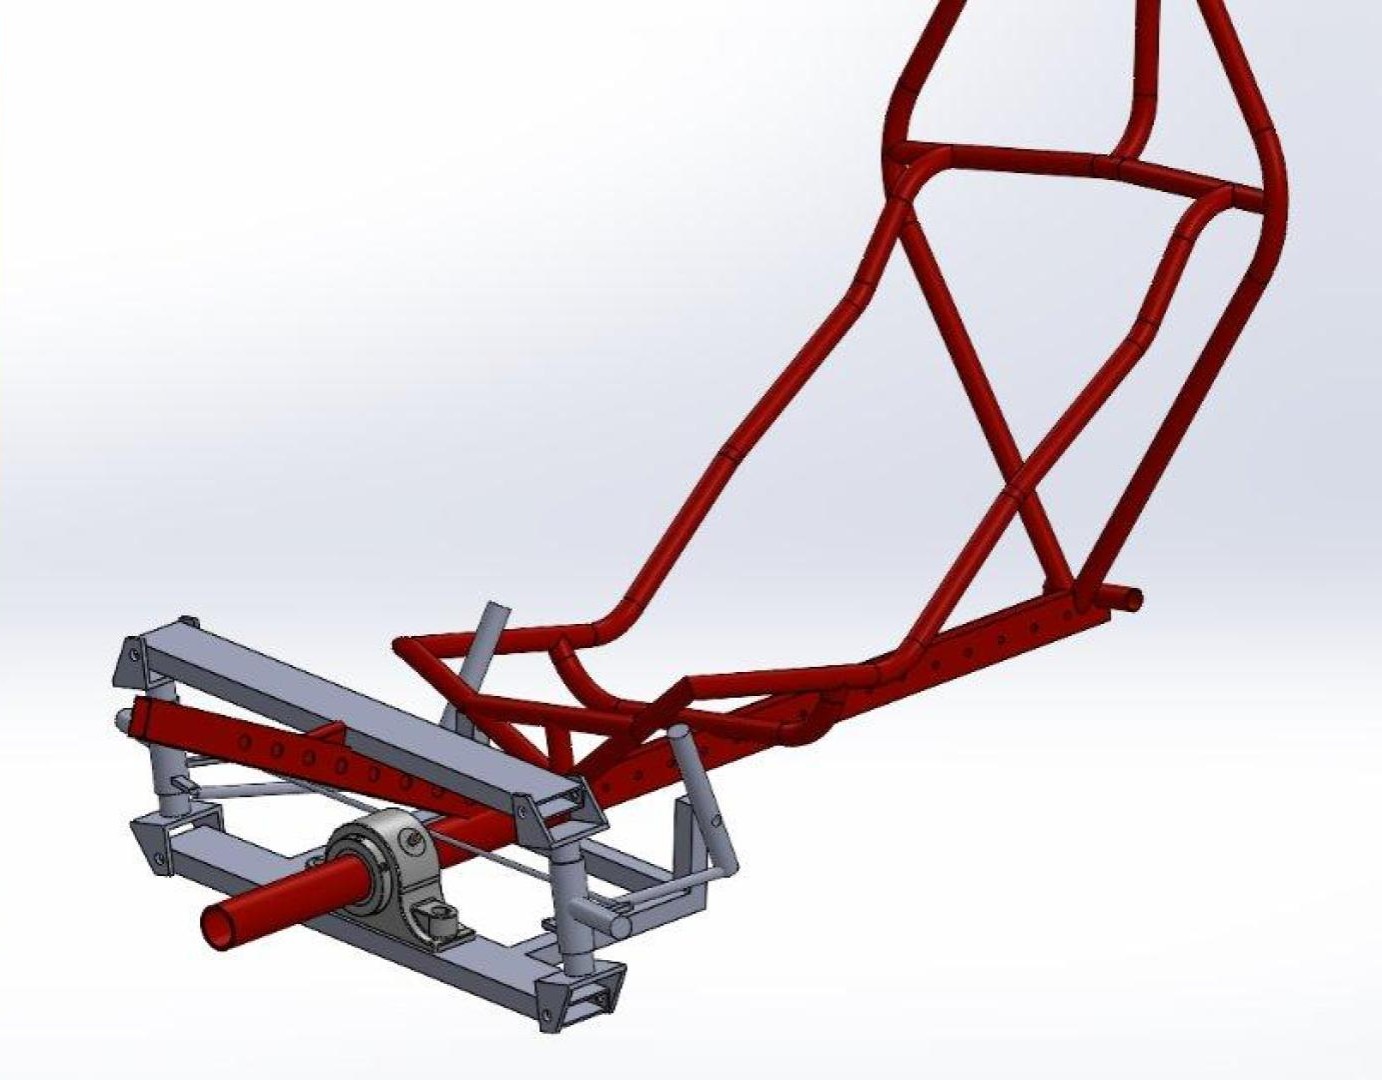
Design for front end of a recumbent tricycle.
This team worked to create an independently controlled tilting and turning recumbent tricycle for a design competition. Pictured is an early sketch of a potential configuration and the following CAD that was made to further explore the idea.
Design Question: How are the various steering and tilting components going to fit in 3D space without colliding while still providing the necessary degrees of freedom?
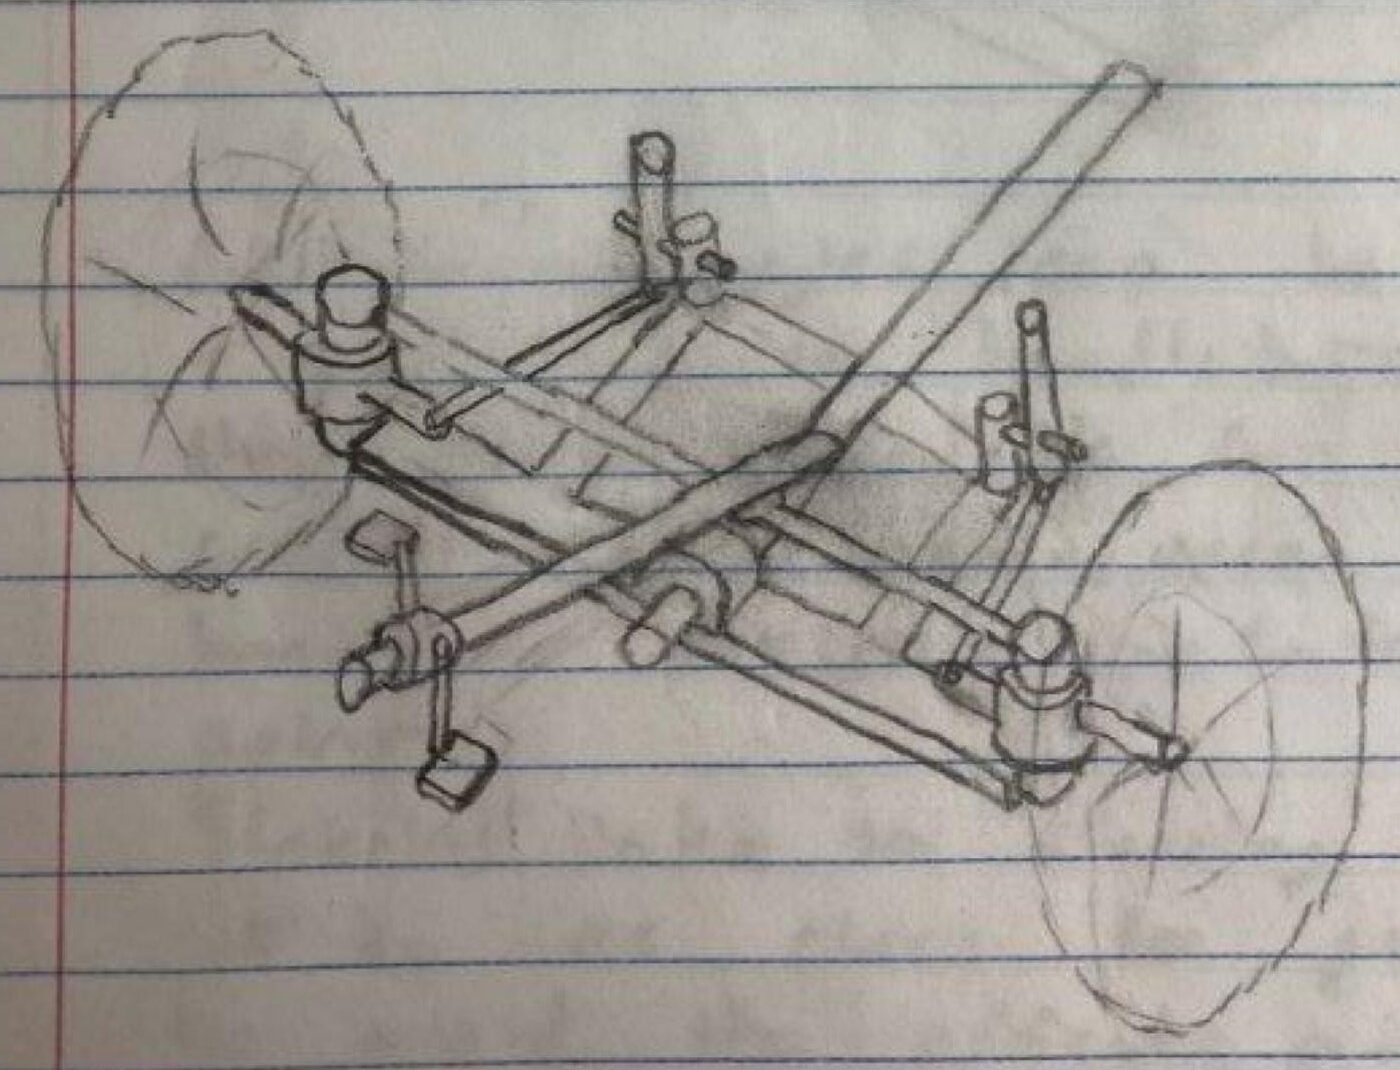
Front-end sketch for a tilting recumbent tricycle.
CAD for the front-end of a tilting recumbent tricycle.
Design Question Answer:
Adjusting the width and length of certain components will be key to ensuring there is no interference.
The handlebars must be widened to ensure the seat doesn’t interfere with turning while the trike is tilting.
An alternative or sometimes followup process is creating low fidelity prototypes that often look to test simple mechanisms or size/space constraints. These lo-fi (low fidelity) prototypes are often made from cheap and readily accessible materials that can be manipulated and adjusted quickly and easily. Some examples include cardboard, foamcore/foam, clay, wire, and/or even Legos.
Design for enrichment toys for zoo animals.
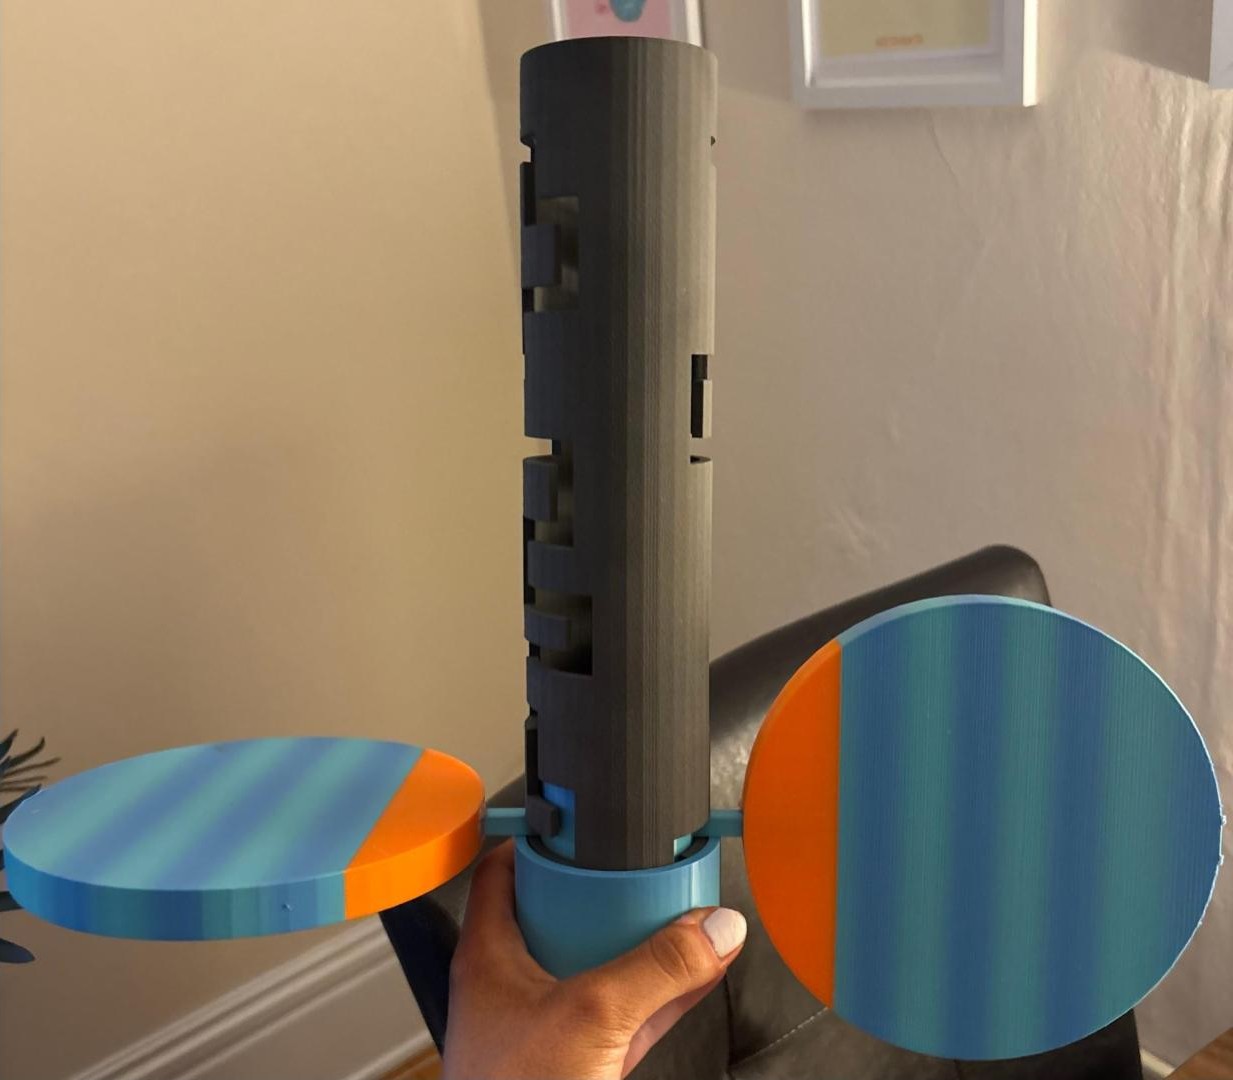
The team was tasked with creating enrichment toys for the Henry Vilas Zoo, more specifically for the harbor seals. The first main constraint on the team was cost, as the zoo is free and has a limited budget. The second main constraint was that it needed to challenge the seals while still being rewarding and doable by the seals. One of the toys the team developed was a floating “fish pusher” in which the seals would need to push a paddle through a maze-like channel to get access to the fish (treat). Below is an image of an early mockup using cheap and readily accessible materials including cardboard and a a used plastic bottle. The other image was taken after more iteration and refinement and shows how the original prototype took shape into a more finished product.
Design Question: How well might a channeled tube do at being a toy maze that can release a reward when completed? (Difficulty/feasibility for the seals and overall size and shape of container and of paddles).
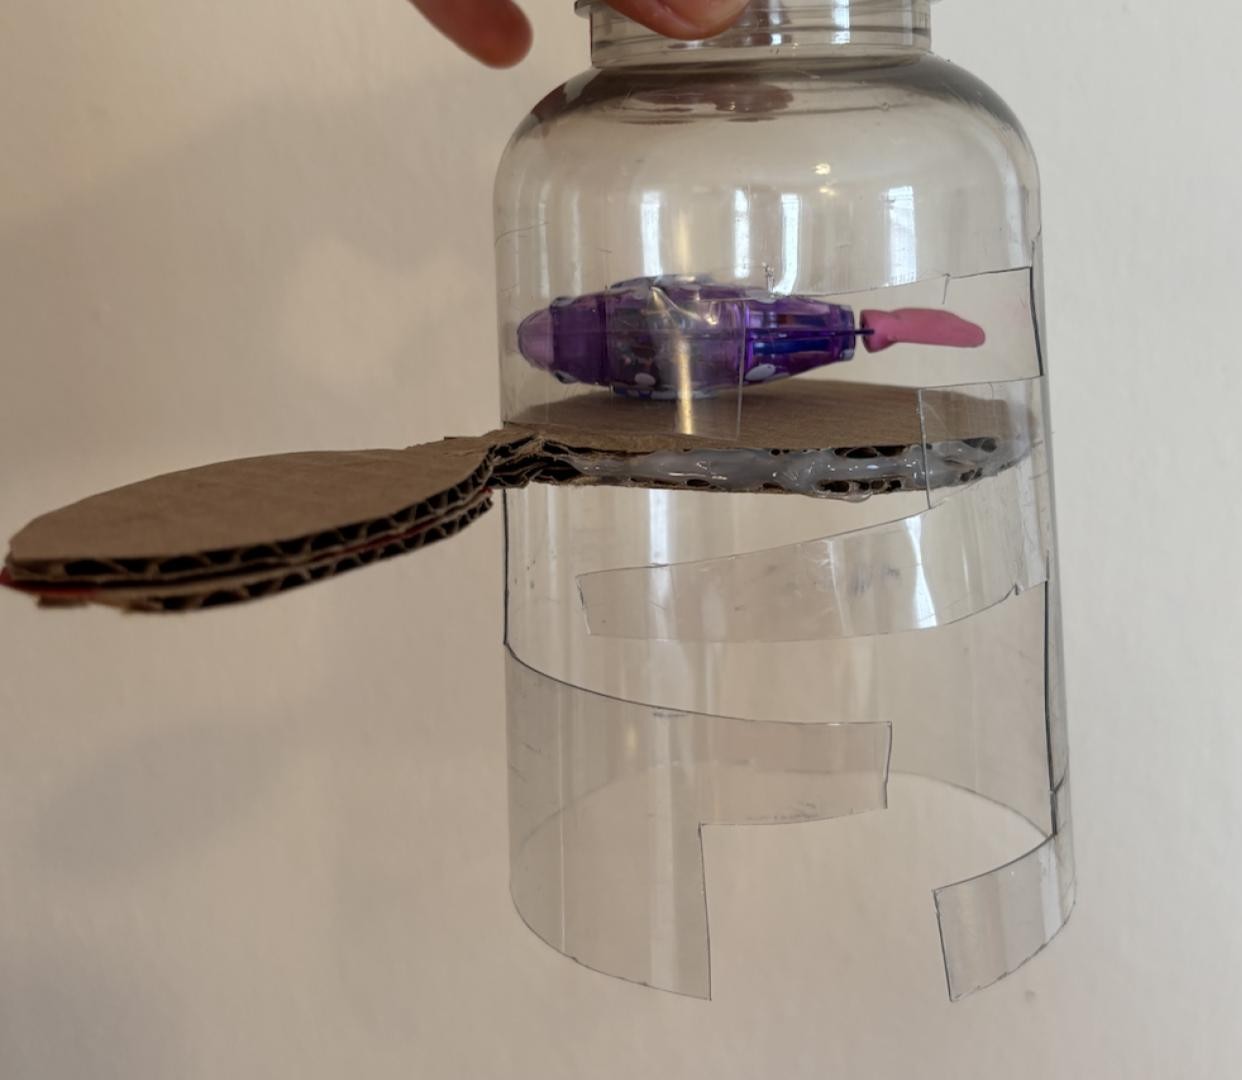
Early Lo-Fi prototype using readily accessible and cheap materials to test a early design idea. This prototype proved the design ideas feasibility and opened the door to more iteration.
Late higher fidelity prototype that nearly matches final prototype, with the main difference being the use of cheaper material for a final test before developing the final product.
Design Question Answer:
The paddle design allows for navigation through the maze, pushing the fish reward towards the top. However it can be difficult to push horizontal with only a vertical paddle.
The maze design can be made much harder as the seals gain experience with the toy while still acting as intended.
The benefit of using such materials is the low monetary investment paired with the ability to create a test model in as little as a few hours. Another benefit is that a designer is able to feel things out as they are making the model, as final dimensions and shapes can be adlibbed unlike many other processes such as 3D printing and CAD.
After a design has been explored a bit deeper and many of the early questions and faults have been addressed a designer will often move into higher fidelity prototypes. This often comes in the form of CAD, 3D printing, laser cutting, more advanced calculations, and simulations. At this stage there may be prototypes that are created that are “looks-like”, while others may be created that “acts-like” the final design idea. This stage of the process often has lots of iteration and is often returned to many times throughout the processes in much of the same way that sketching and low-fidelity are returned to when testing or thinking through new ideas and designs.
Design for an automated beverage container opener for aid in vending process.
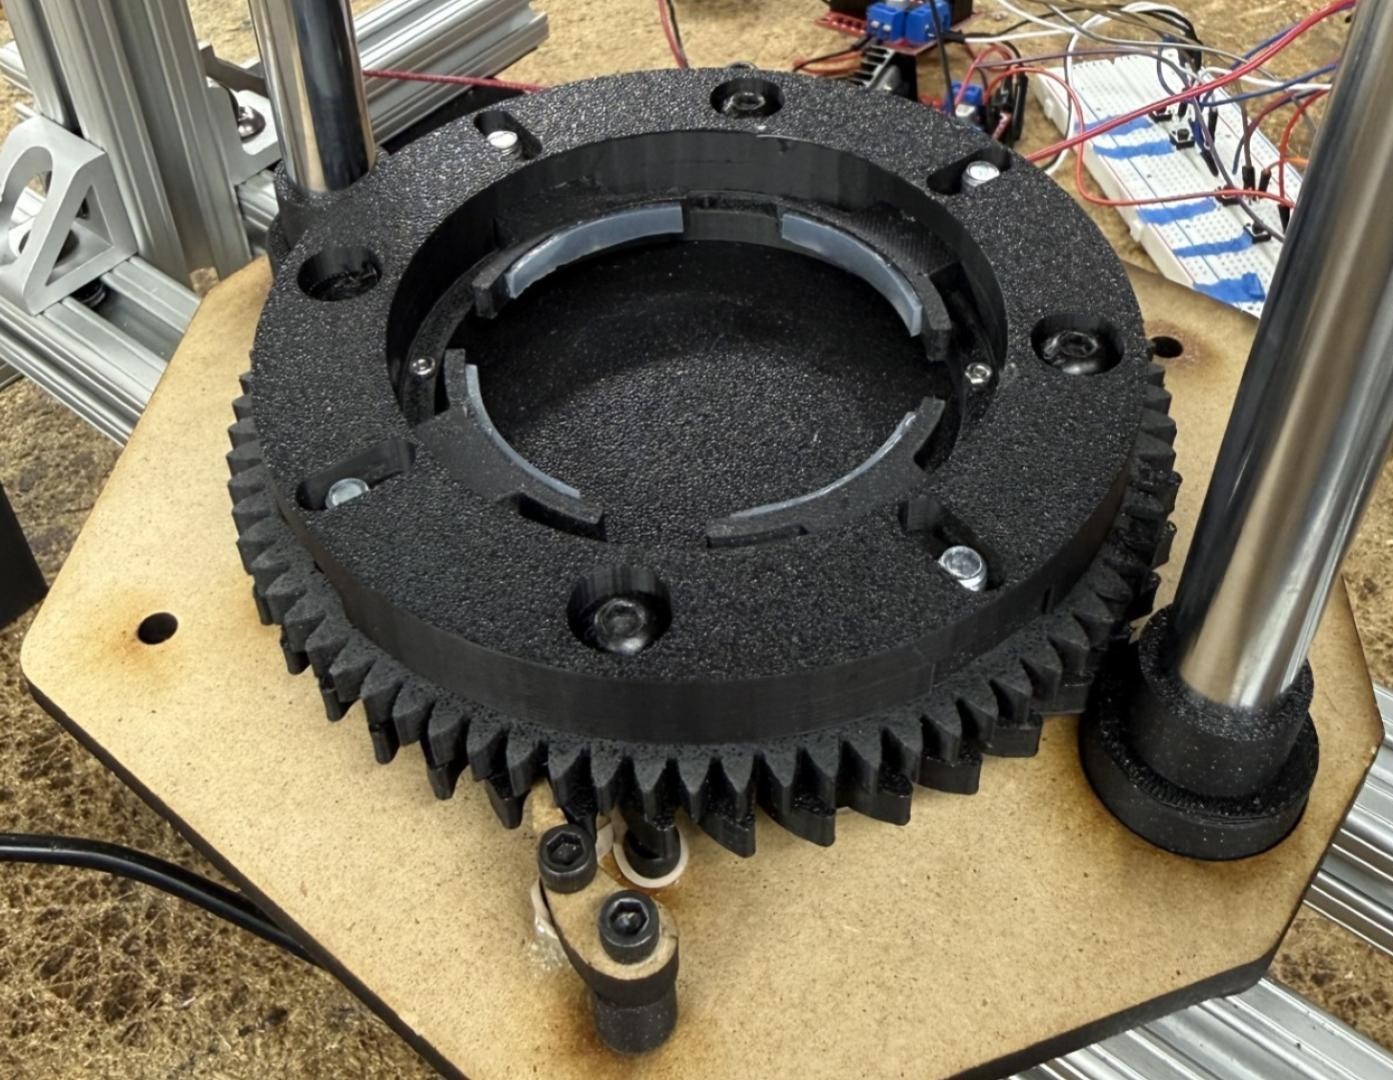
This team worked on creating a autonomous beverage opener that is capable of dealing with both pop tabs and twist off caps at various can sizes. Pictured below is some of the work the team did to ensure the machine could handle different diameter cans with the ratcheting lower clamping mechanism. The team utilized both 3D printing and laser cutting to test a variety of designs as pictured below. The final design settled on a laser cut base with 3D printed gears and rings, all supported on an 80/20 aluminum extrusion frame.
Design Question: What size teeth and which material work best for the ratcheting mechanism that tightens around the beverage?
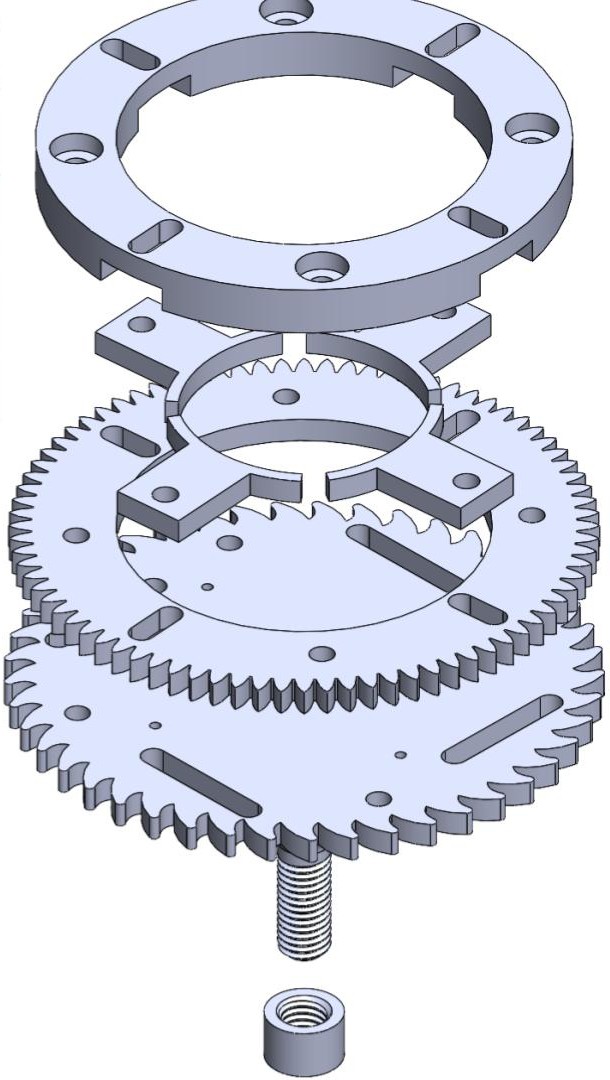
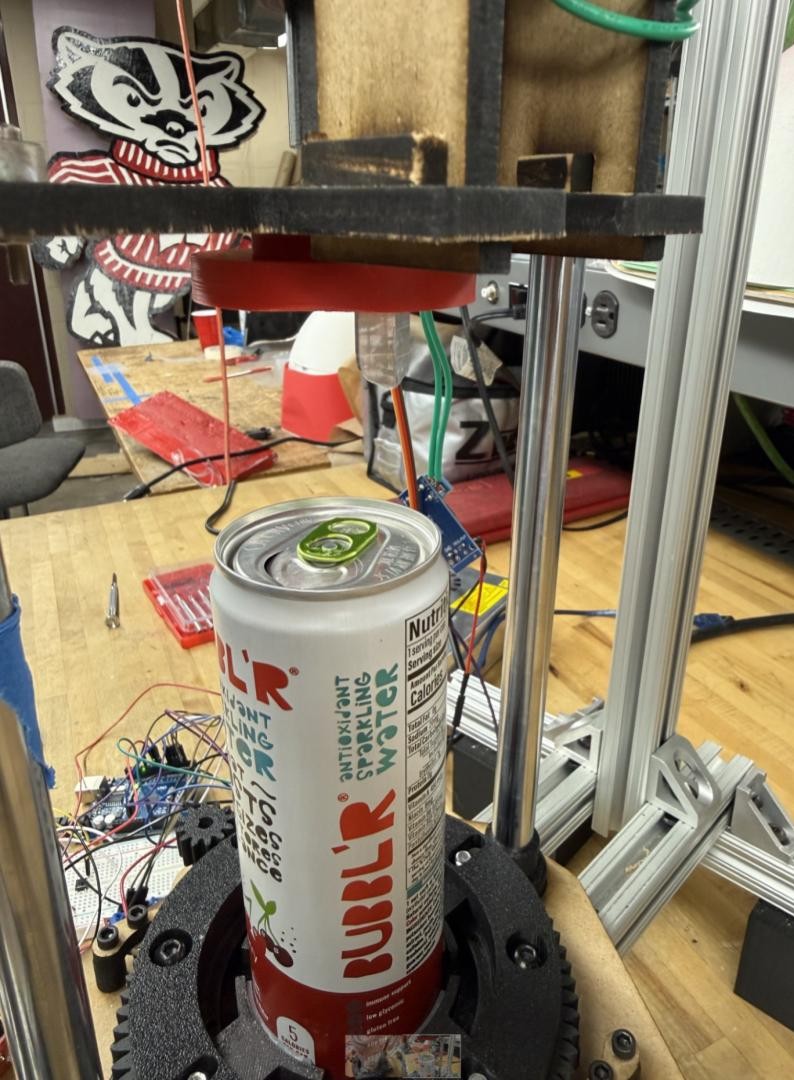
CAD for the lower beverage clamp mechanism.
Beverage in lower clamp, post puncture from late prototype.
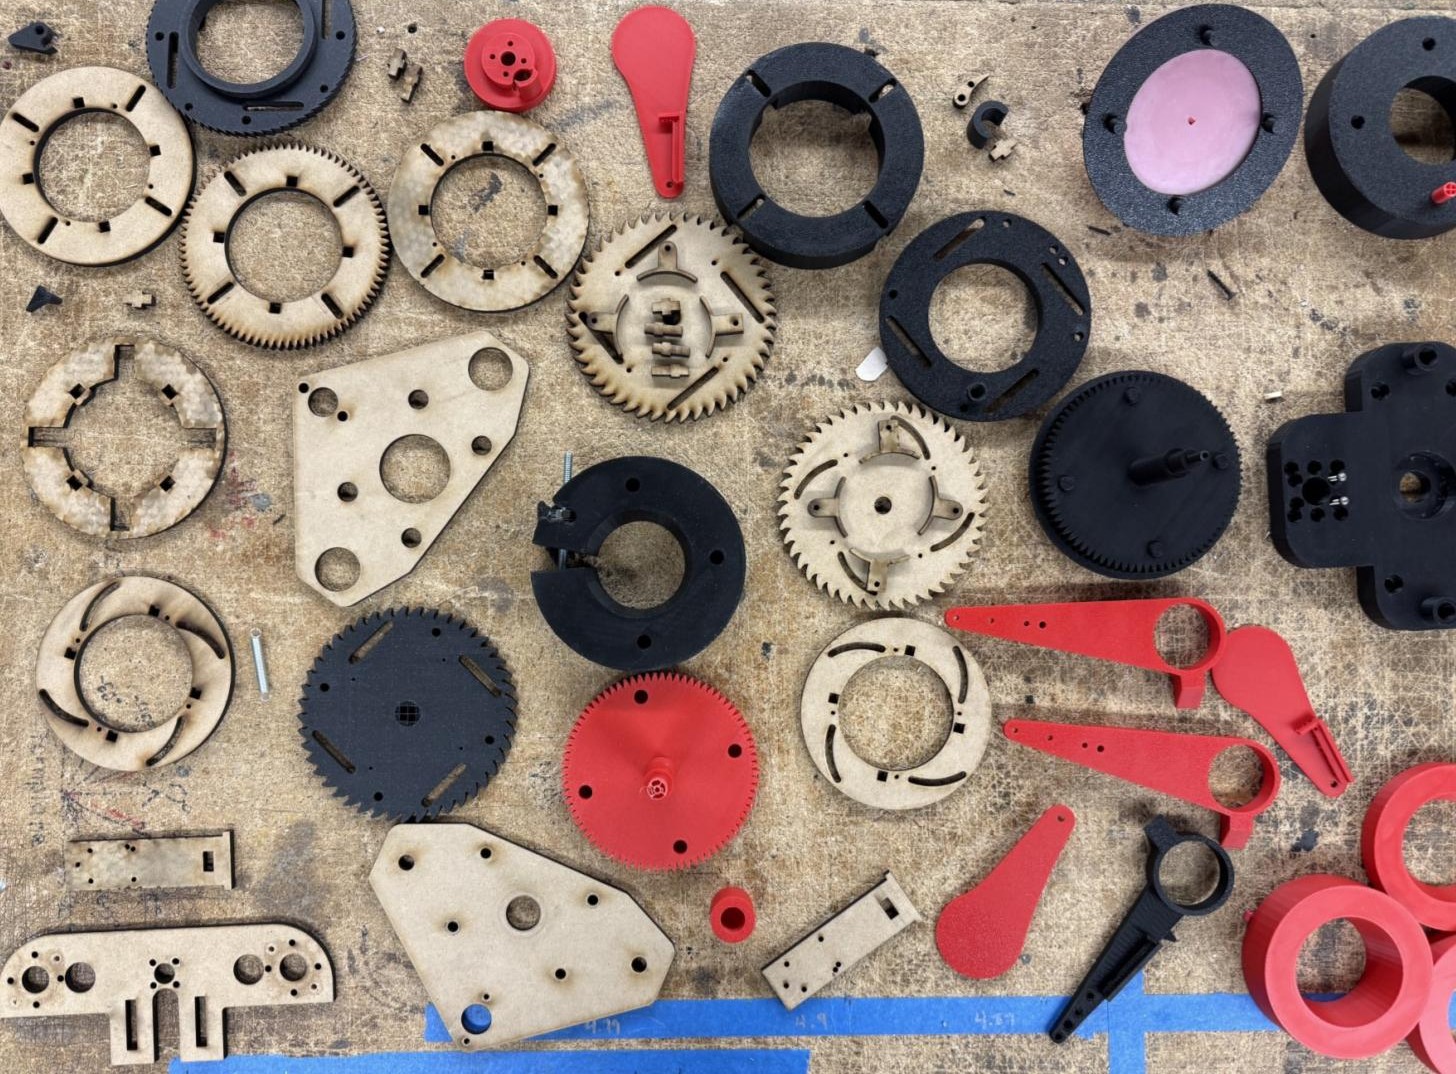
Various test prototypes made from 3D printing and laser cutting for the whole machine.
Final bottom clamp mechanism.
Design Question Answer:
In the end a combination of 3D print and laser cut material worked best, with 3D print being used for the majority of the ratcheting mechanism due to the complex shapes and varying material thickness needed for the design. 3D printing also allowed for the creation of stronger/more reinforced areas of a given part, as many of the earlier prototypes broke/failed due to creep/fatigue.
Fidelity and Prototypes Aren’t Linear.
As stated earlier lower fidelity prototypes are often still used later in the design process to test out a specific design idea/question. Additionally prototypes can often be made in parallel with one another, meaning team may be testing multiple design ideas at the same time with various levels of fidelity. These design ideas may be iterations on one singular design, or completely different concepts all together. Next up you’ll begin diving into the various processes used throughout prototyping, starting with sketching.